Leather Tray
My friend has a small 4x4 leather tray to drop his daily carry into when he gets home from work. He loves it but its a bit small to hold all of his stuff so he said he wanted an 8x8 one and asked me if I could make one for him (he actually offered to buy me a side of leather in exchange).
The design wasn’t too difficult. I started by drawing some primitives and piecing them together in the general shape I was going for. Then I merged them and rounded the corners.
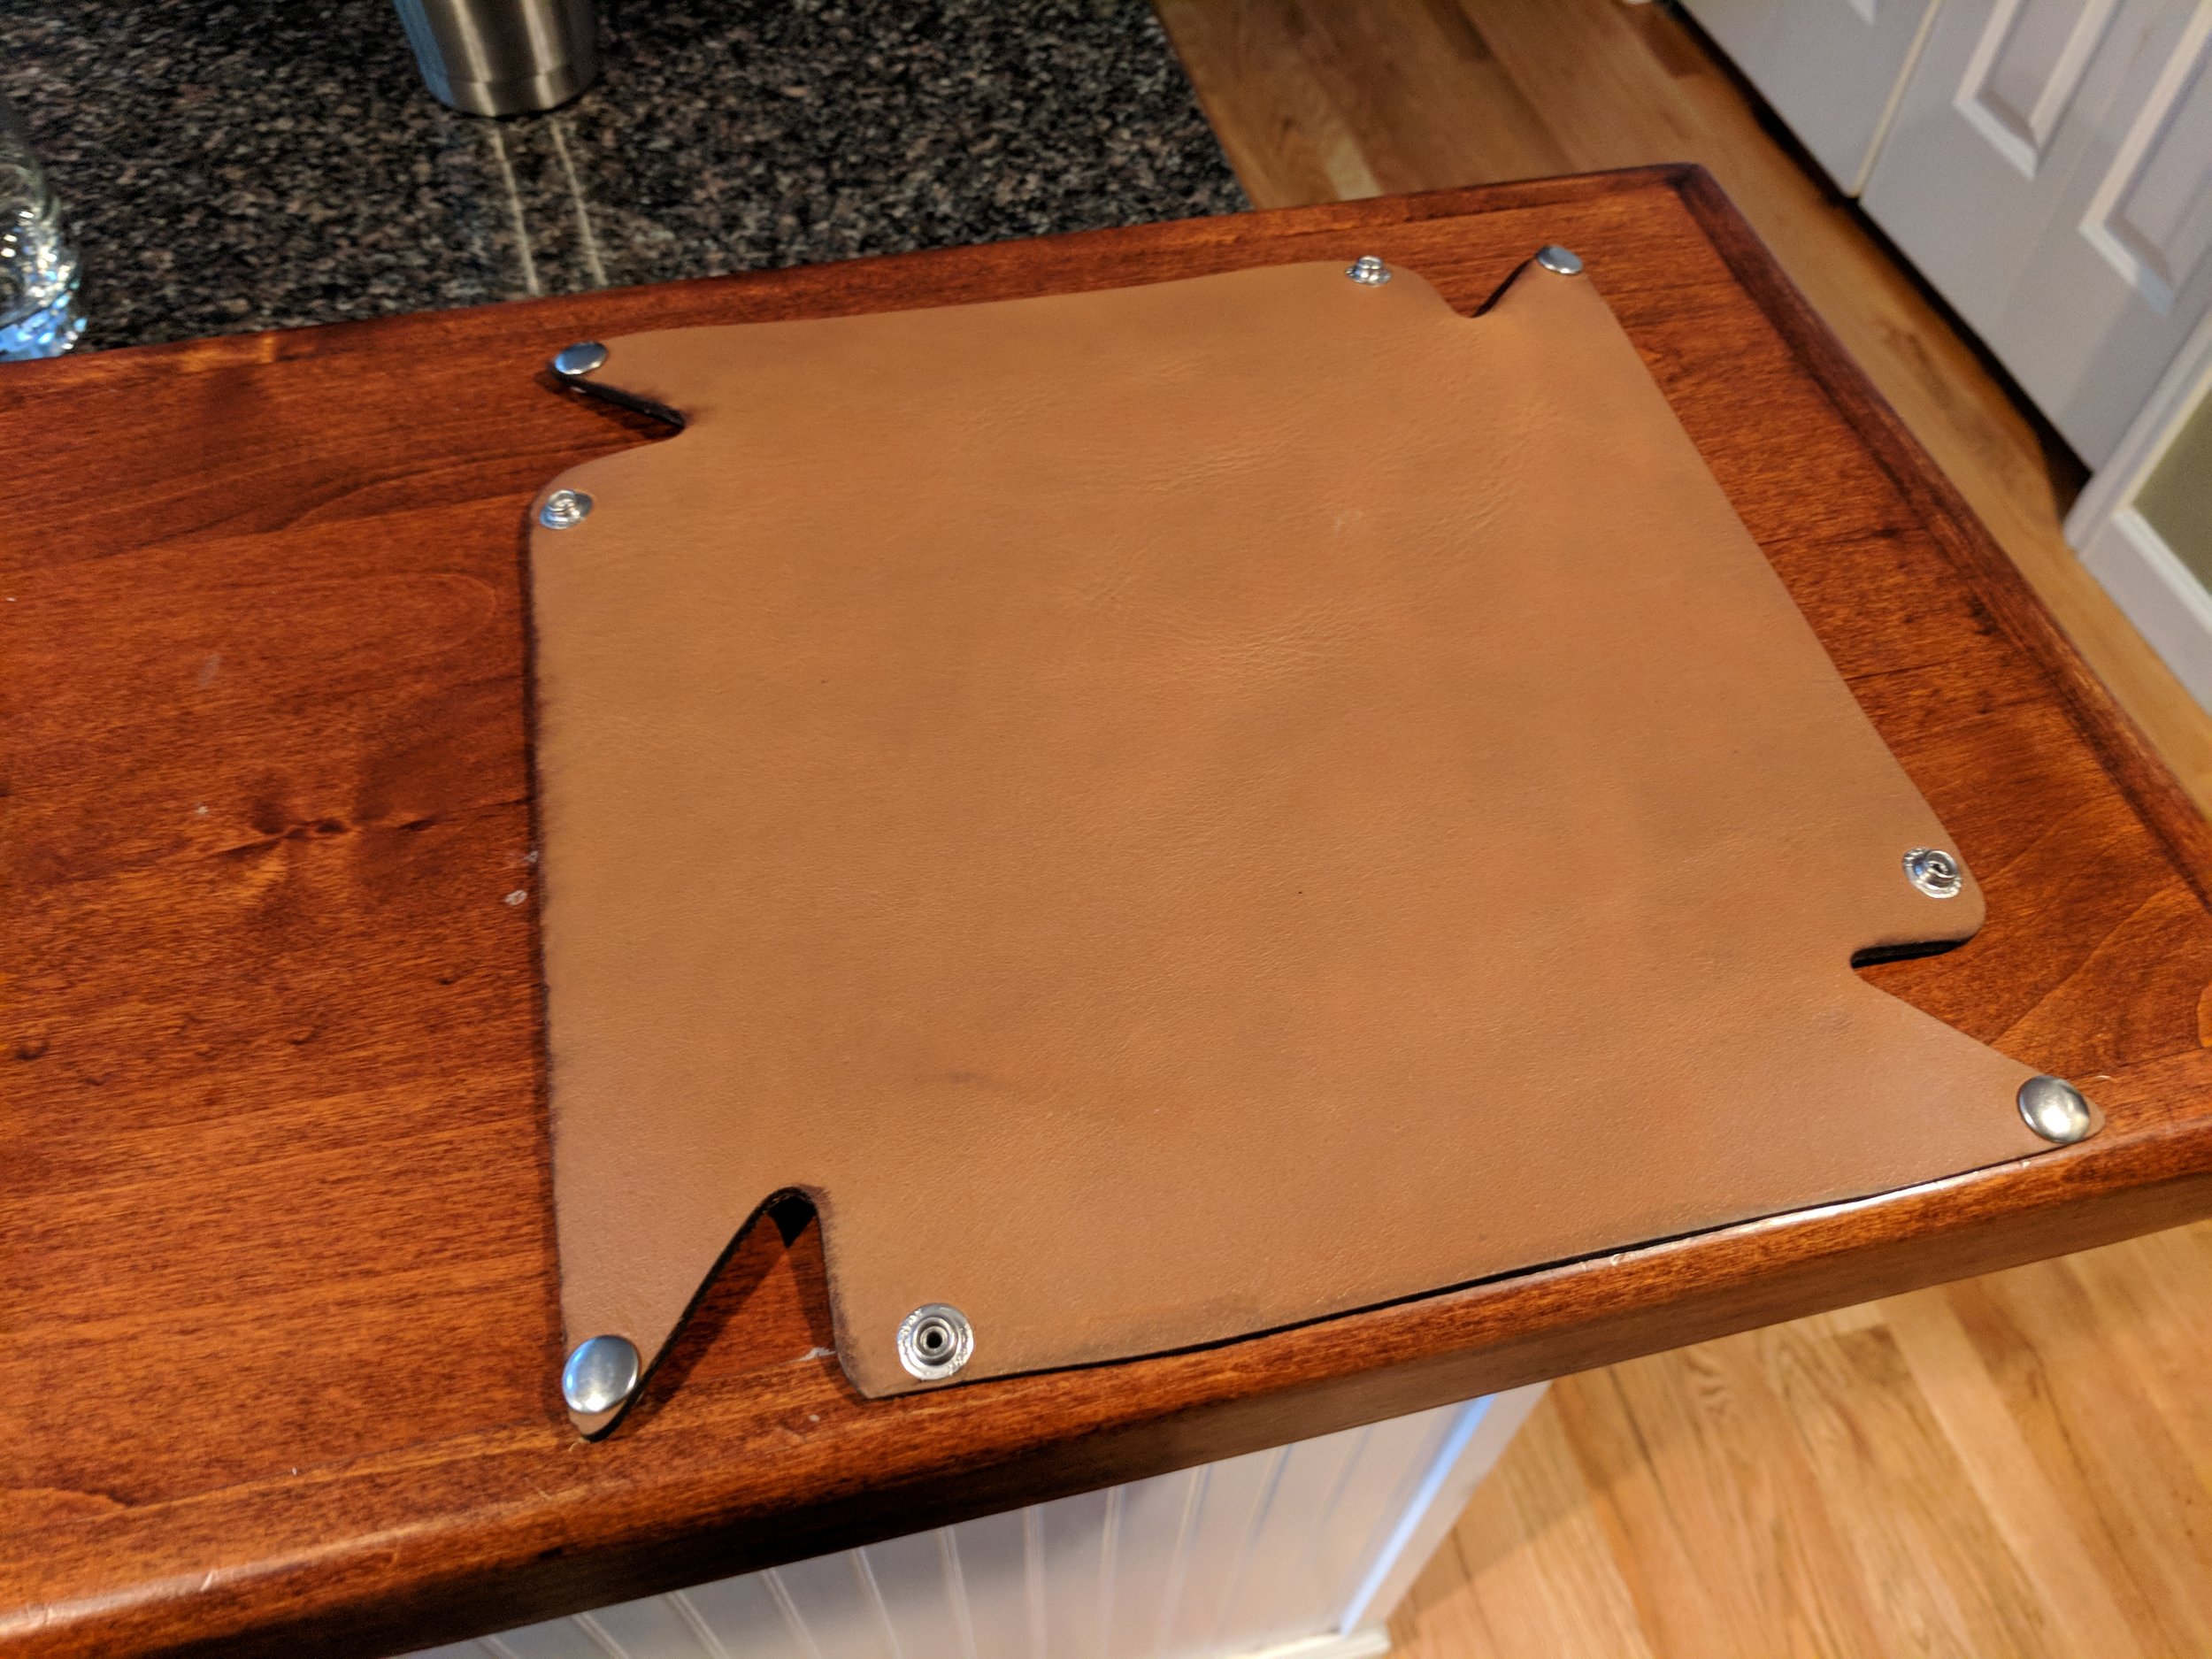
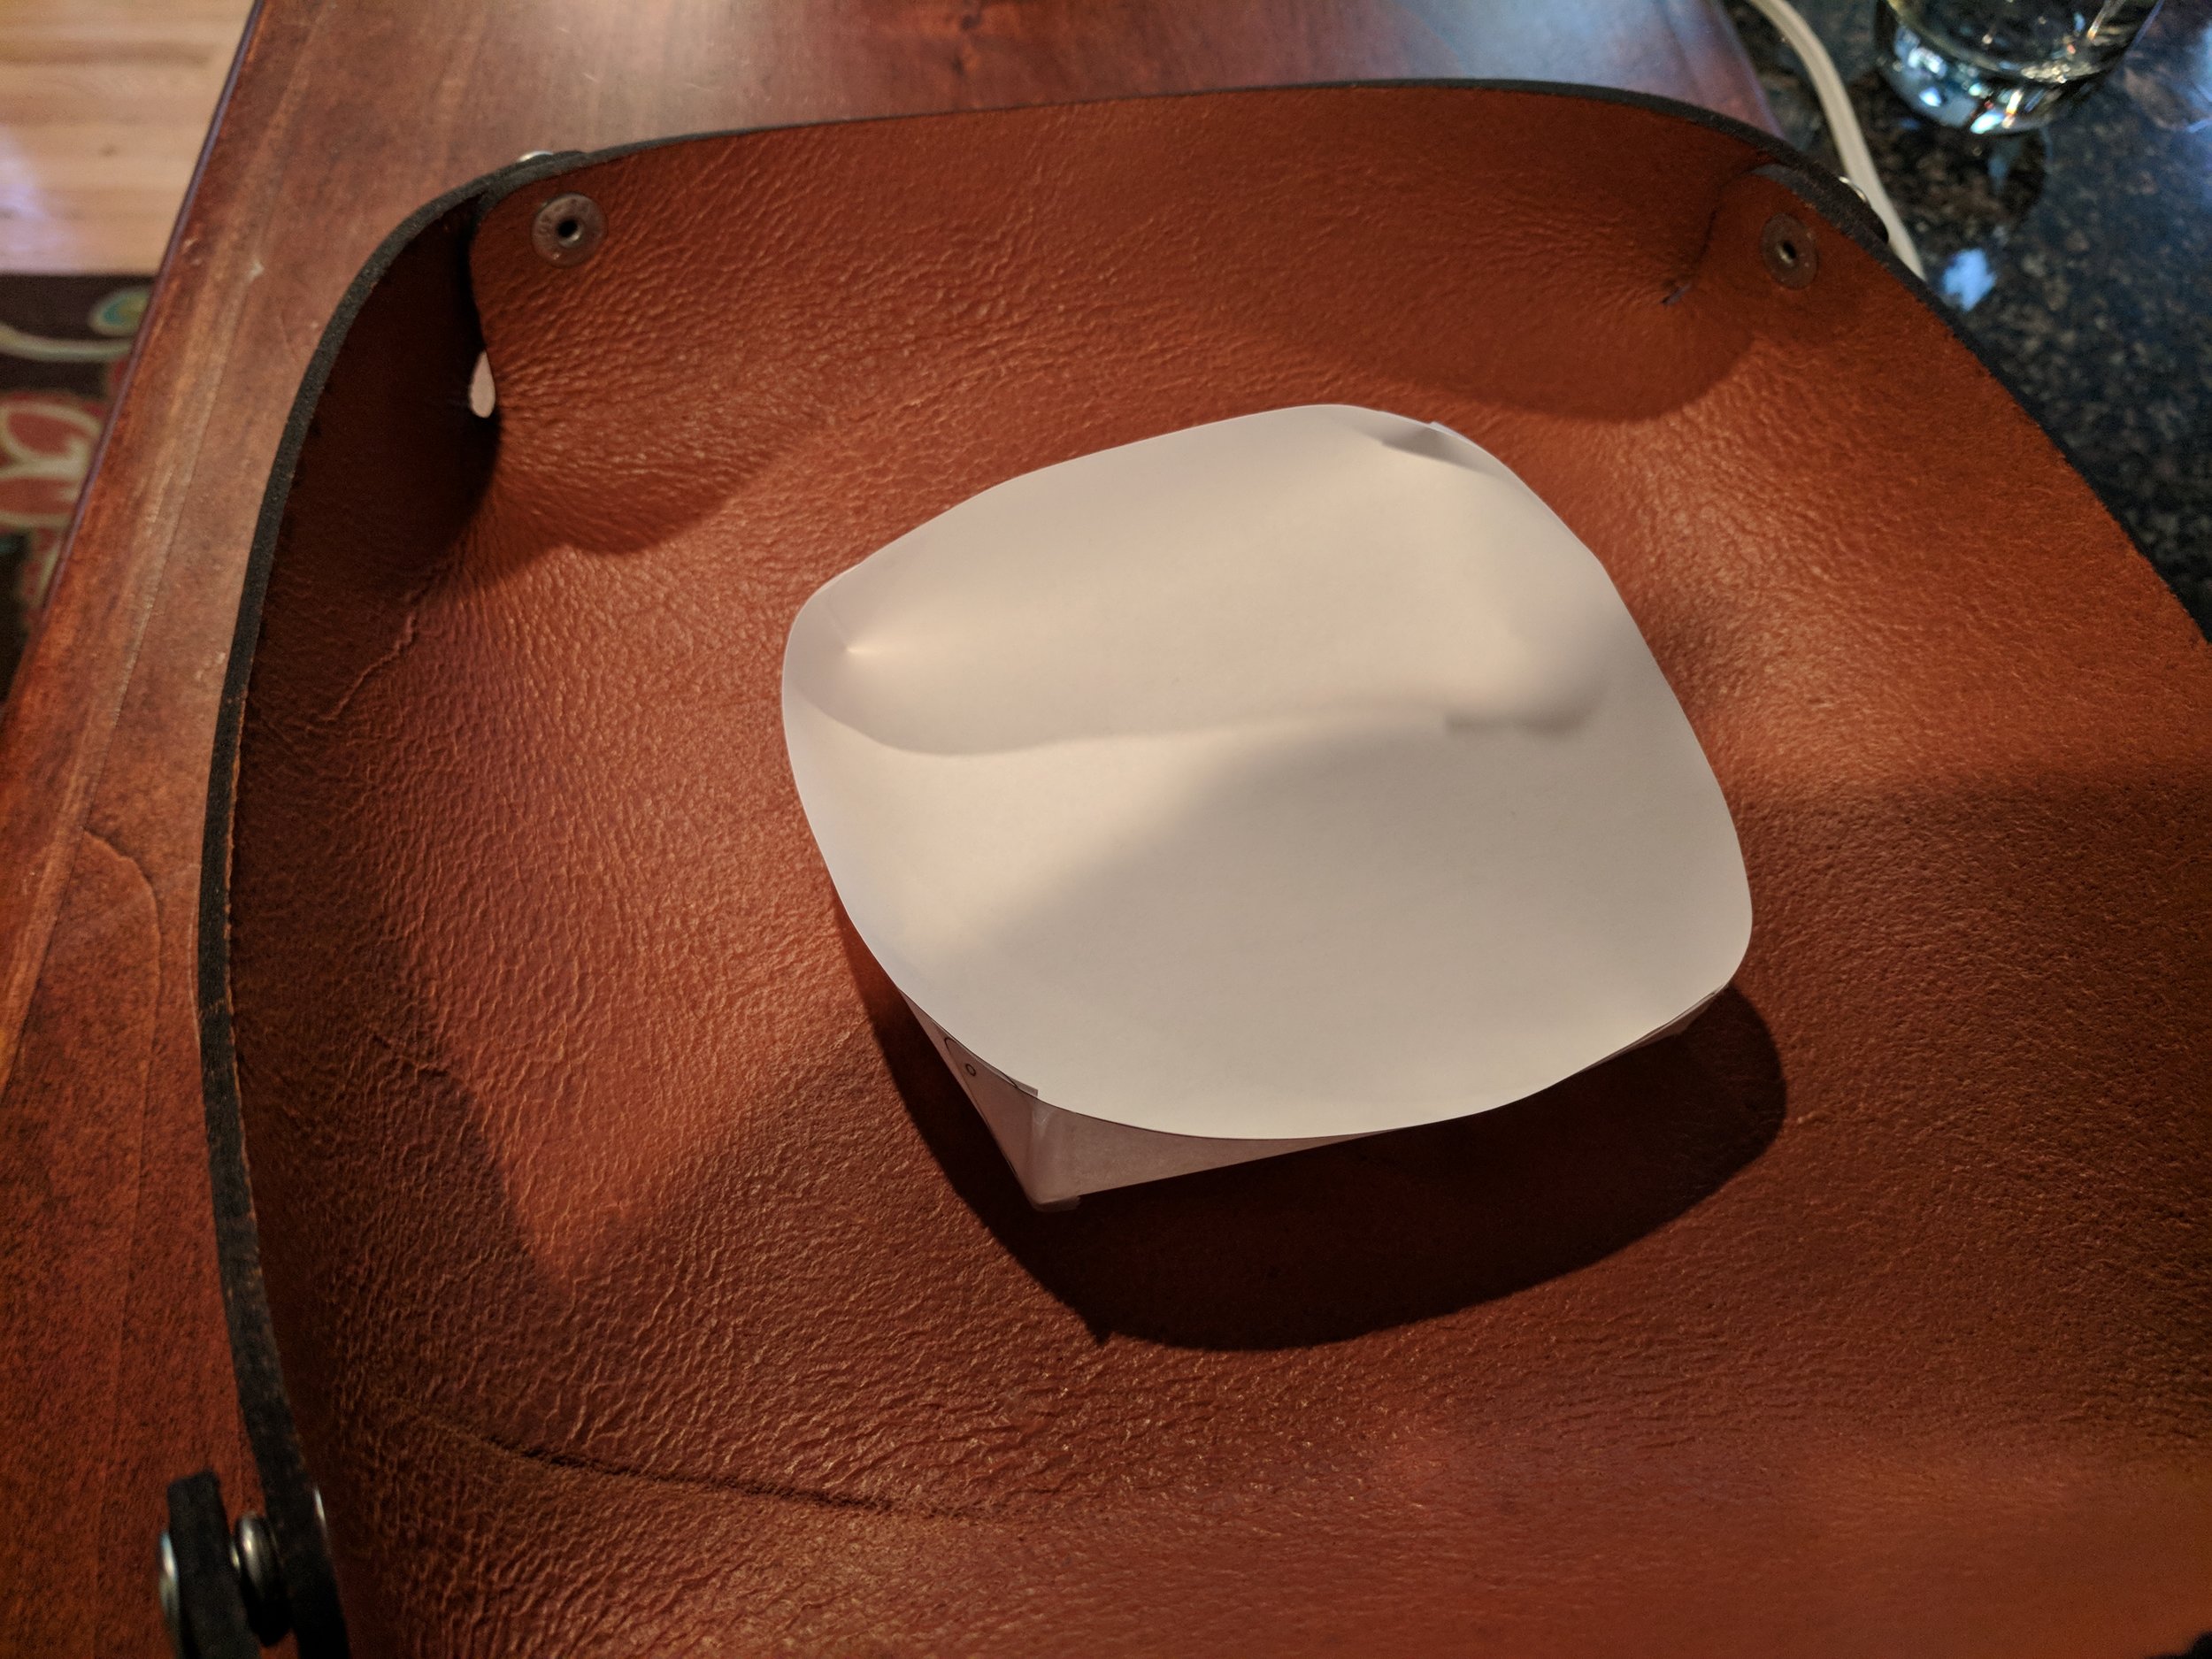
The snaps are line 20 snaps from tandy. To get the holes evenly placed, I put them on the corner of the box (the unrounded corner) and then moved them in exact amounts to ensure each landed in the same place. The placement of them was a guessing game since I didn’t feel like trying to come up with the math to figure out how to get the tray to fold up just right. I used trial and error to get them where I wanted them. They’re still a little too close to the edge IMO, but I don’t think it looks too bad. For my trial runs, I scaled the drawing and printed it on paper and cut it out by hand. This gave a general idea of how it would line up but not exact since paper is so thin and pliable compared to leather.
The project wasn’t without its hiccups as I made a few mistakes (par for the course for me). The design is just a hair too big for the glowforge. The smallest resizing though makes it fit and the line 20 snap holes have enough padding to take the minor scale down. I’ve only made 1 so far so I haven’t updated the design file. It was quick and easy enough to scale in the glowforge UI so I didn’t bother pinpointing exactly the scale factor I’d need to update the design with.
The bigger mistake was that in trying to avoid a mark in the leather, I aligned the cut too close to the edge and ended up missing on one side. It didn’t miss by enough to be super noticeable, but the edge didn’t get charred since the laser missed it. It was just cut with a box cutter. To “fix” it, I took some black antiquing gel that I had from a previous project and rubbed it on the edge. You can barely tell any difference between the dyed edge and the laser cut edge. And unless you know what to look for, the slightly off cut line isn’t super noticeable.
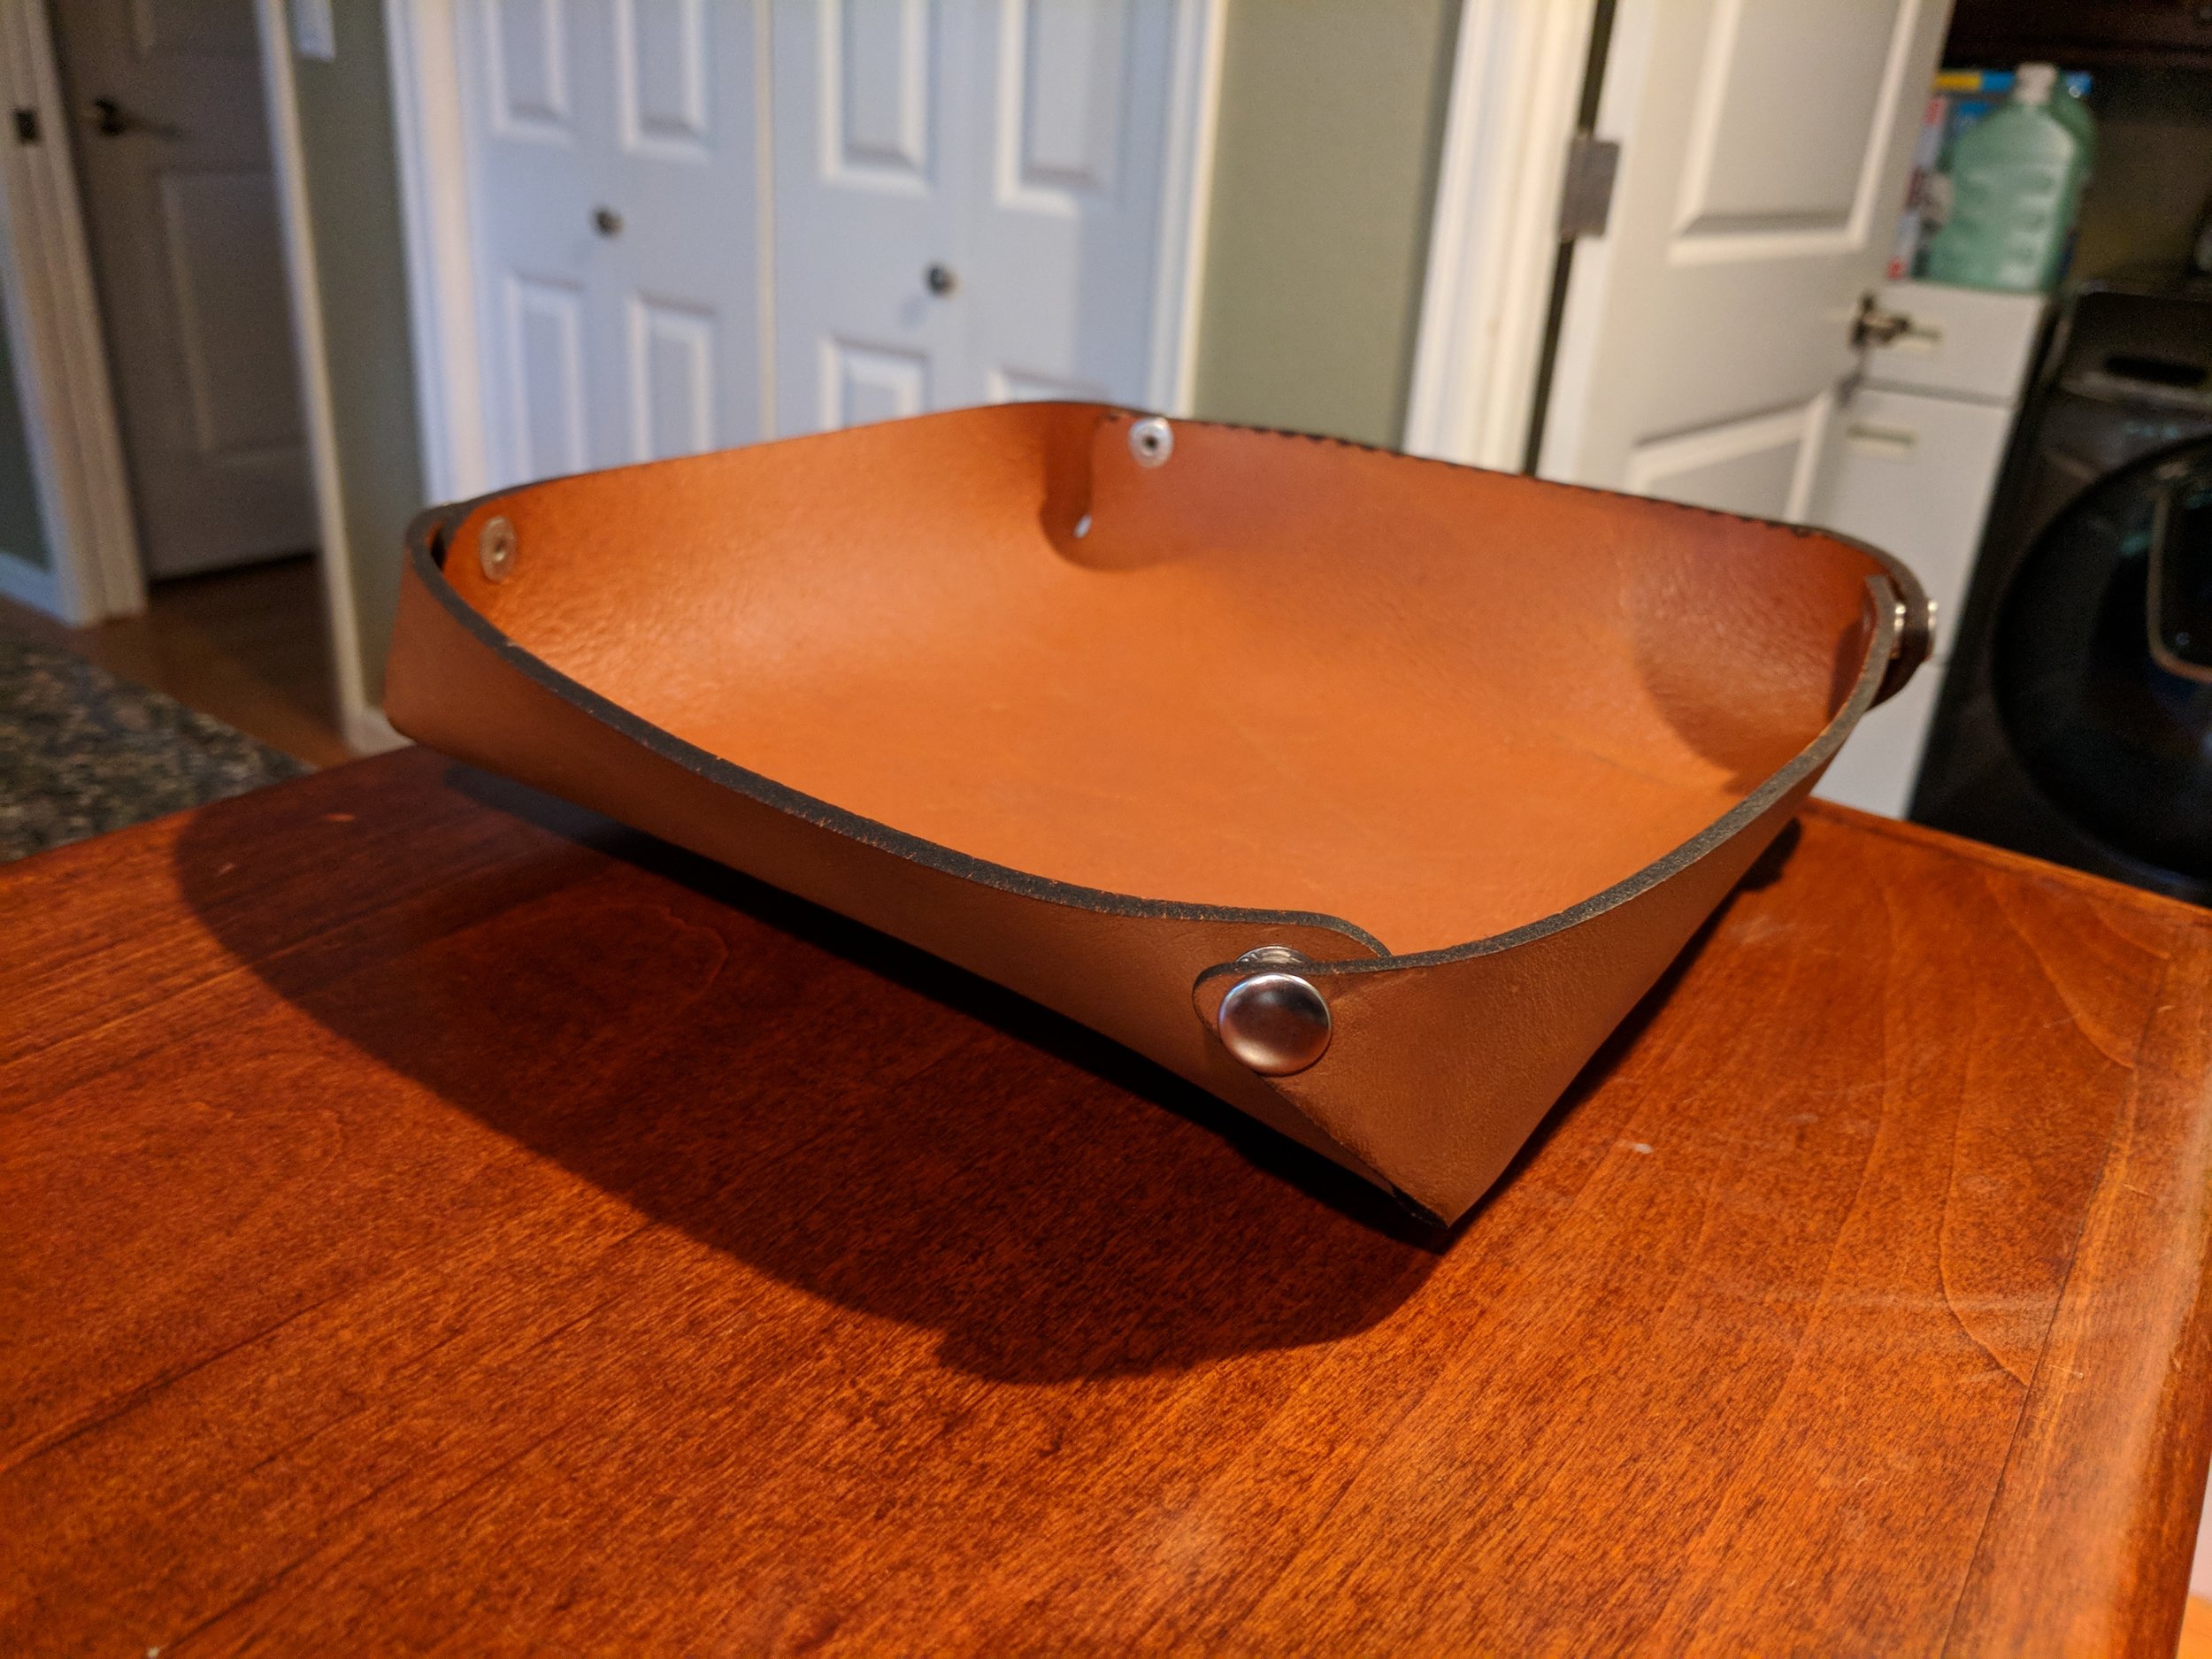
Anyways here’s the final product:
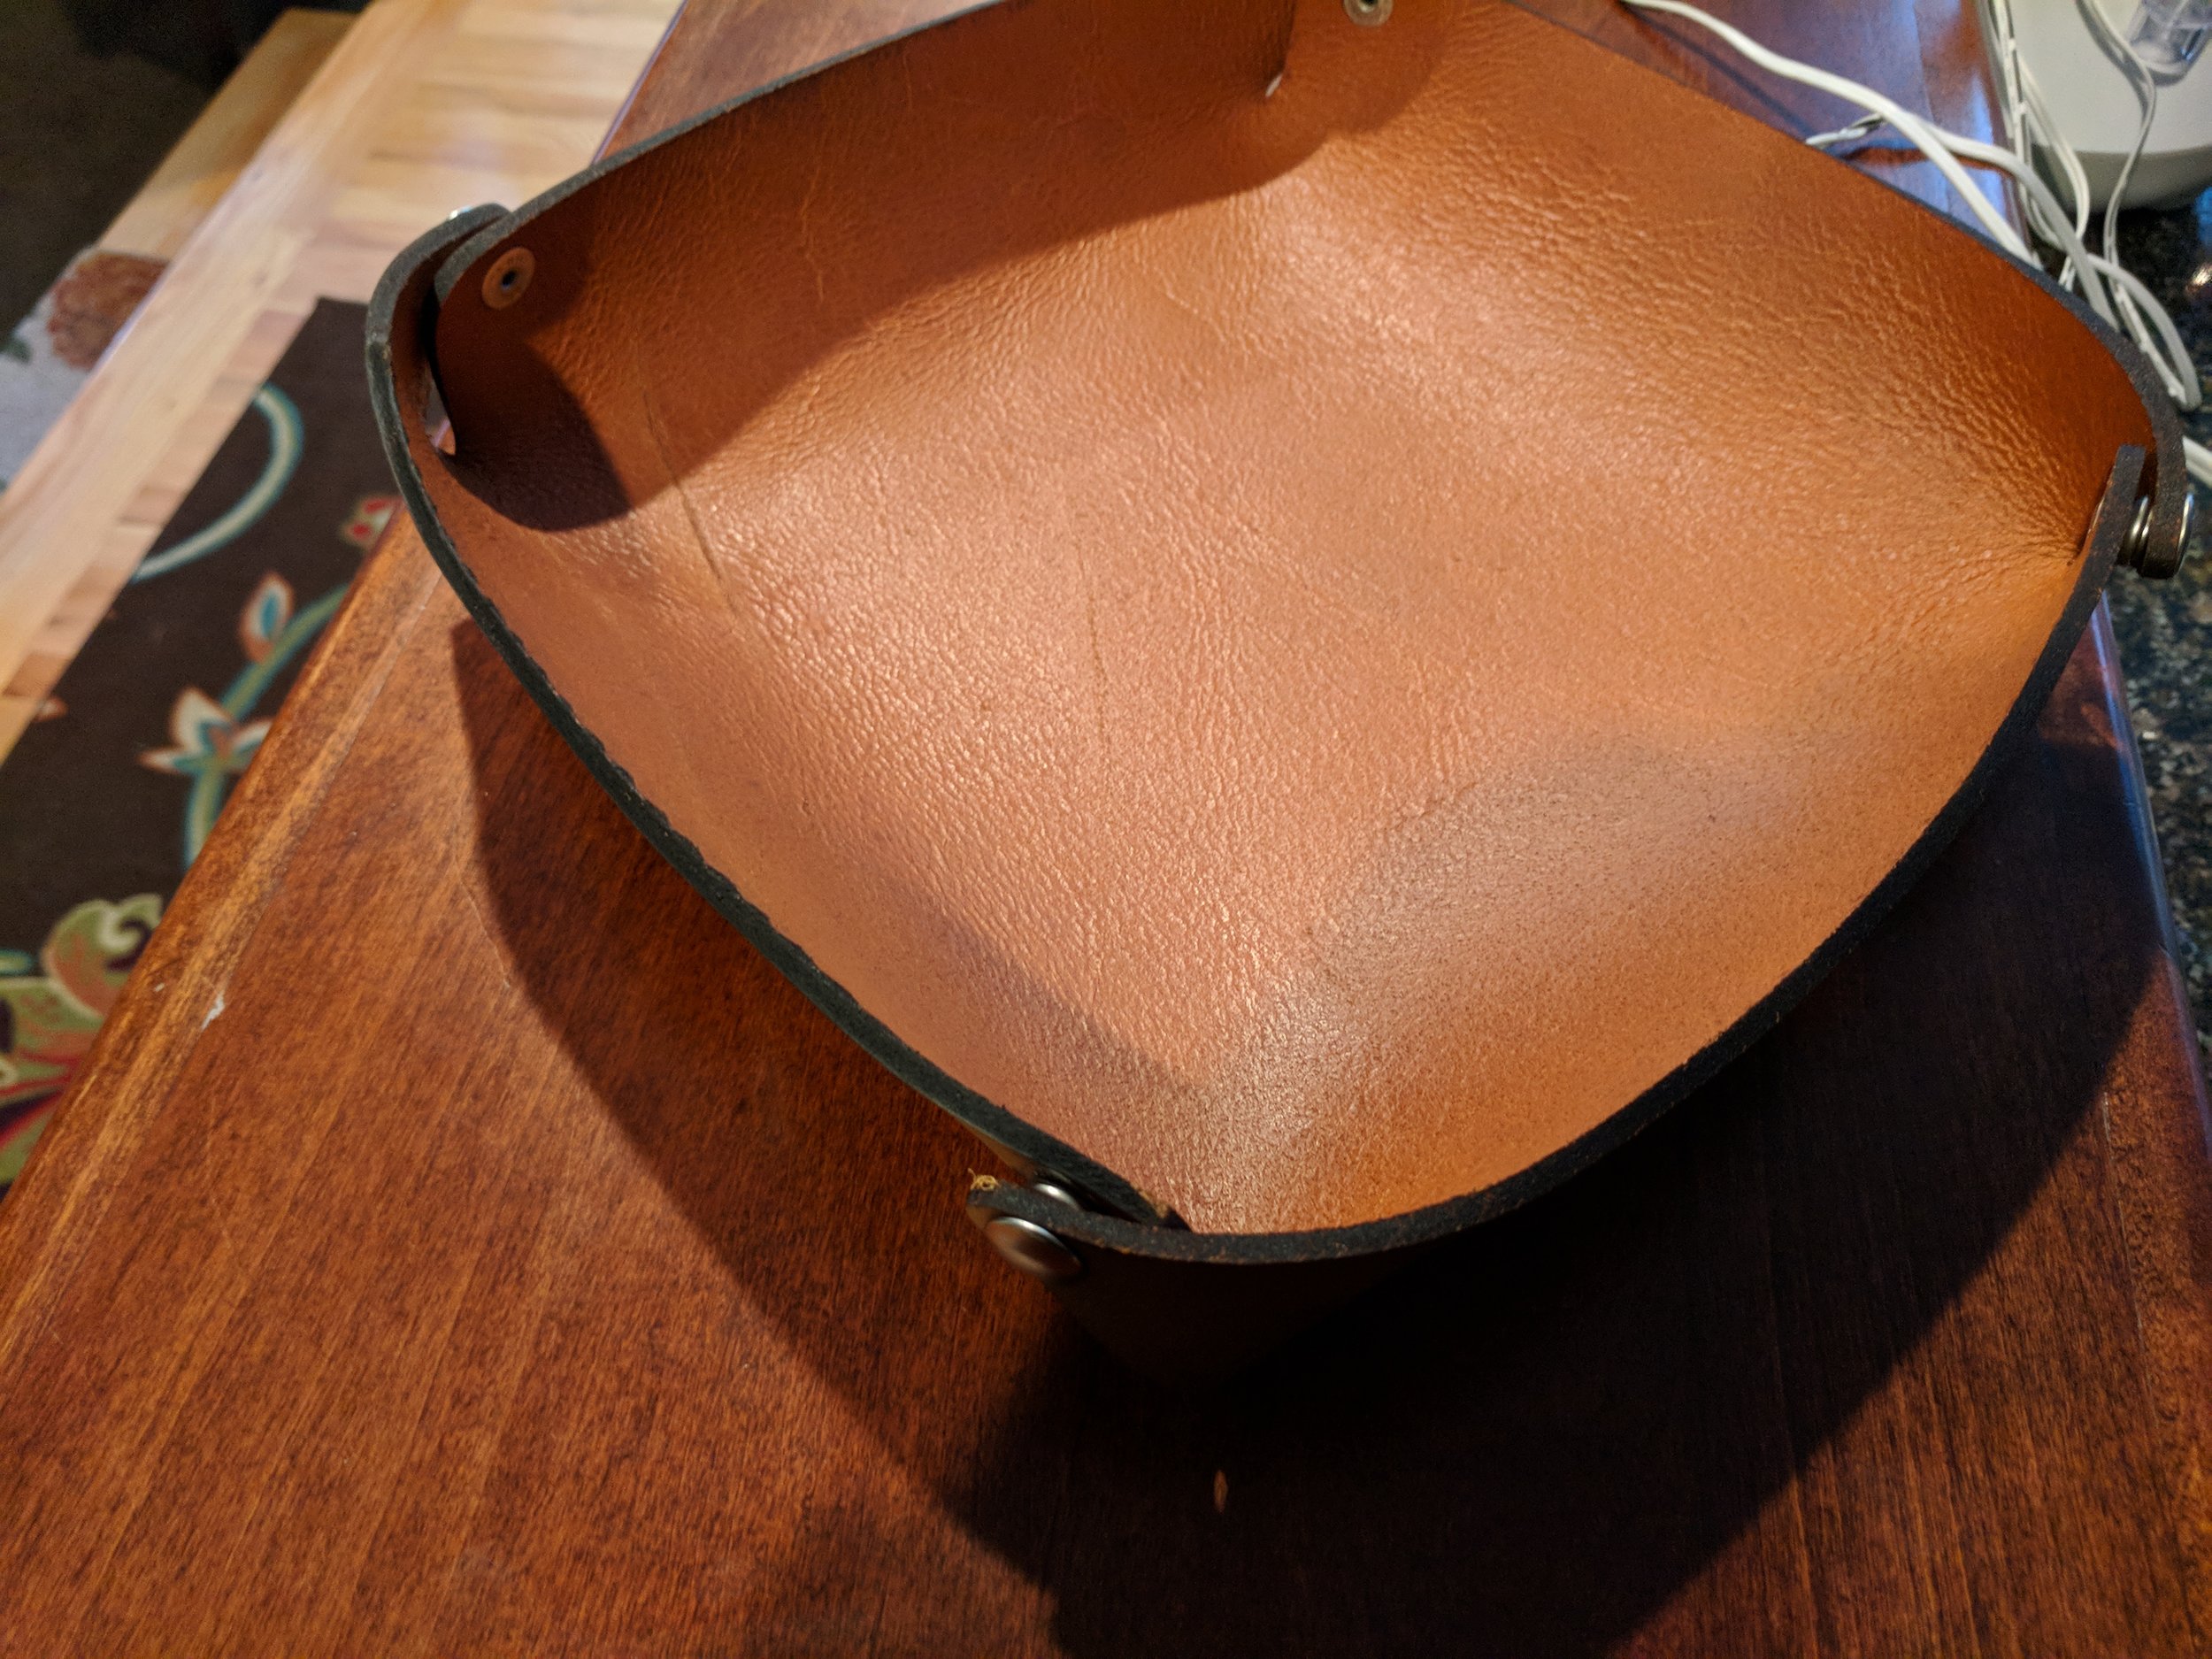
Here’s the bad edge (the edge on the left). You can see it got some extra flashback since the laser totally missed the material. And you can see a slight change in how the light reflects off the edge near the back part of the edge where the laser picked up again. It’s less noticeable in person.
If you're interested in the pattern to make your own, I have it listed in my shop.