Glue-free Rotary Game Counter
I took inspiration from this instructables post, but created the design files for this project from the ground up. I downloaded the instructables design files originally and was going to modify from there, but the downloaded file needed a bunch of work to be ready for my glowforge. So I decided to start from scratch and make it wholly my own.
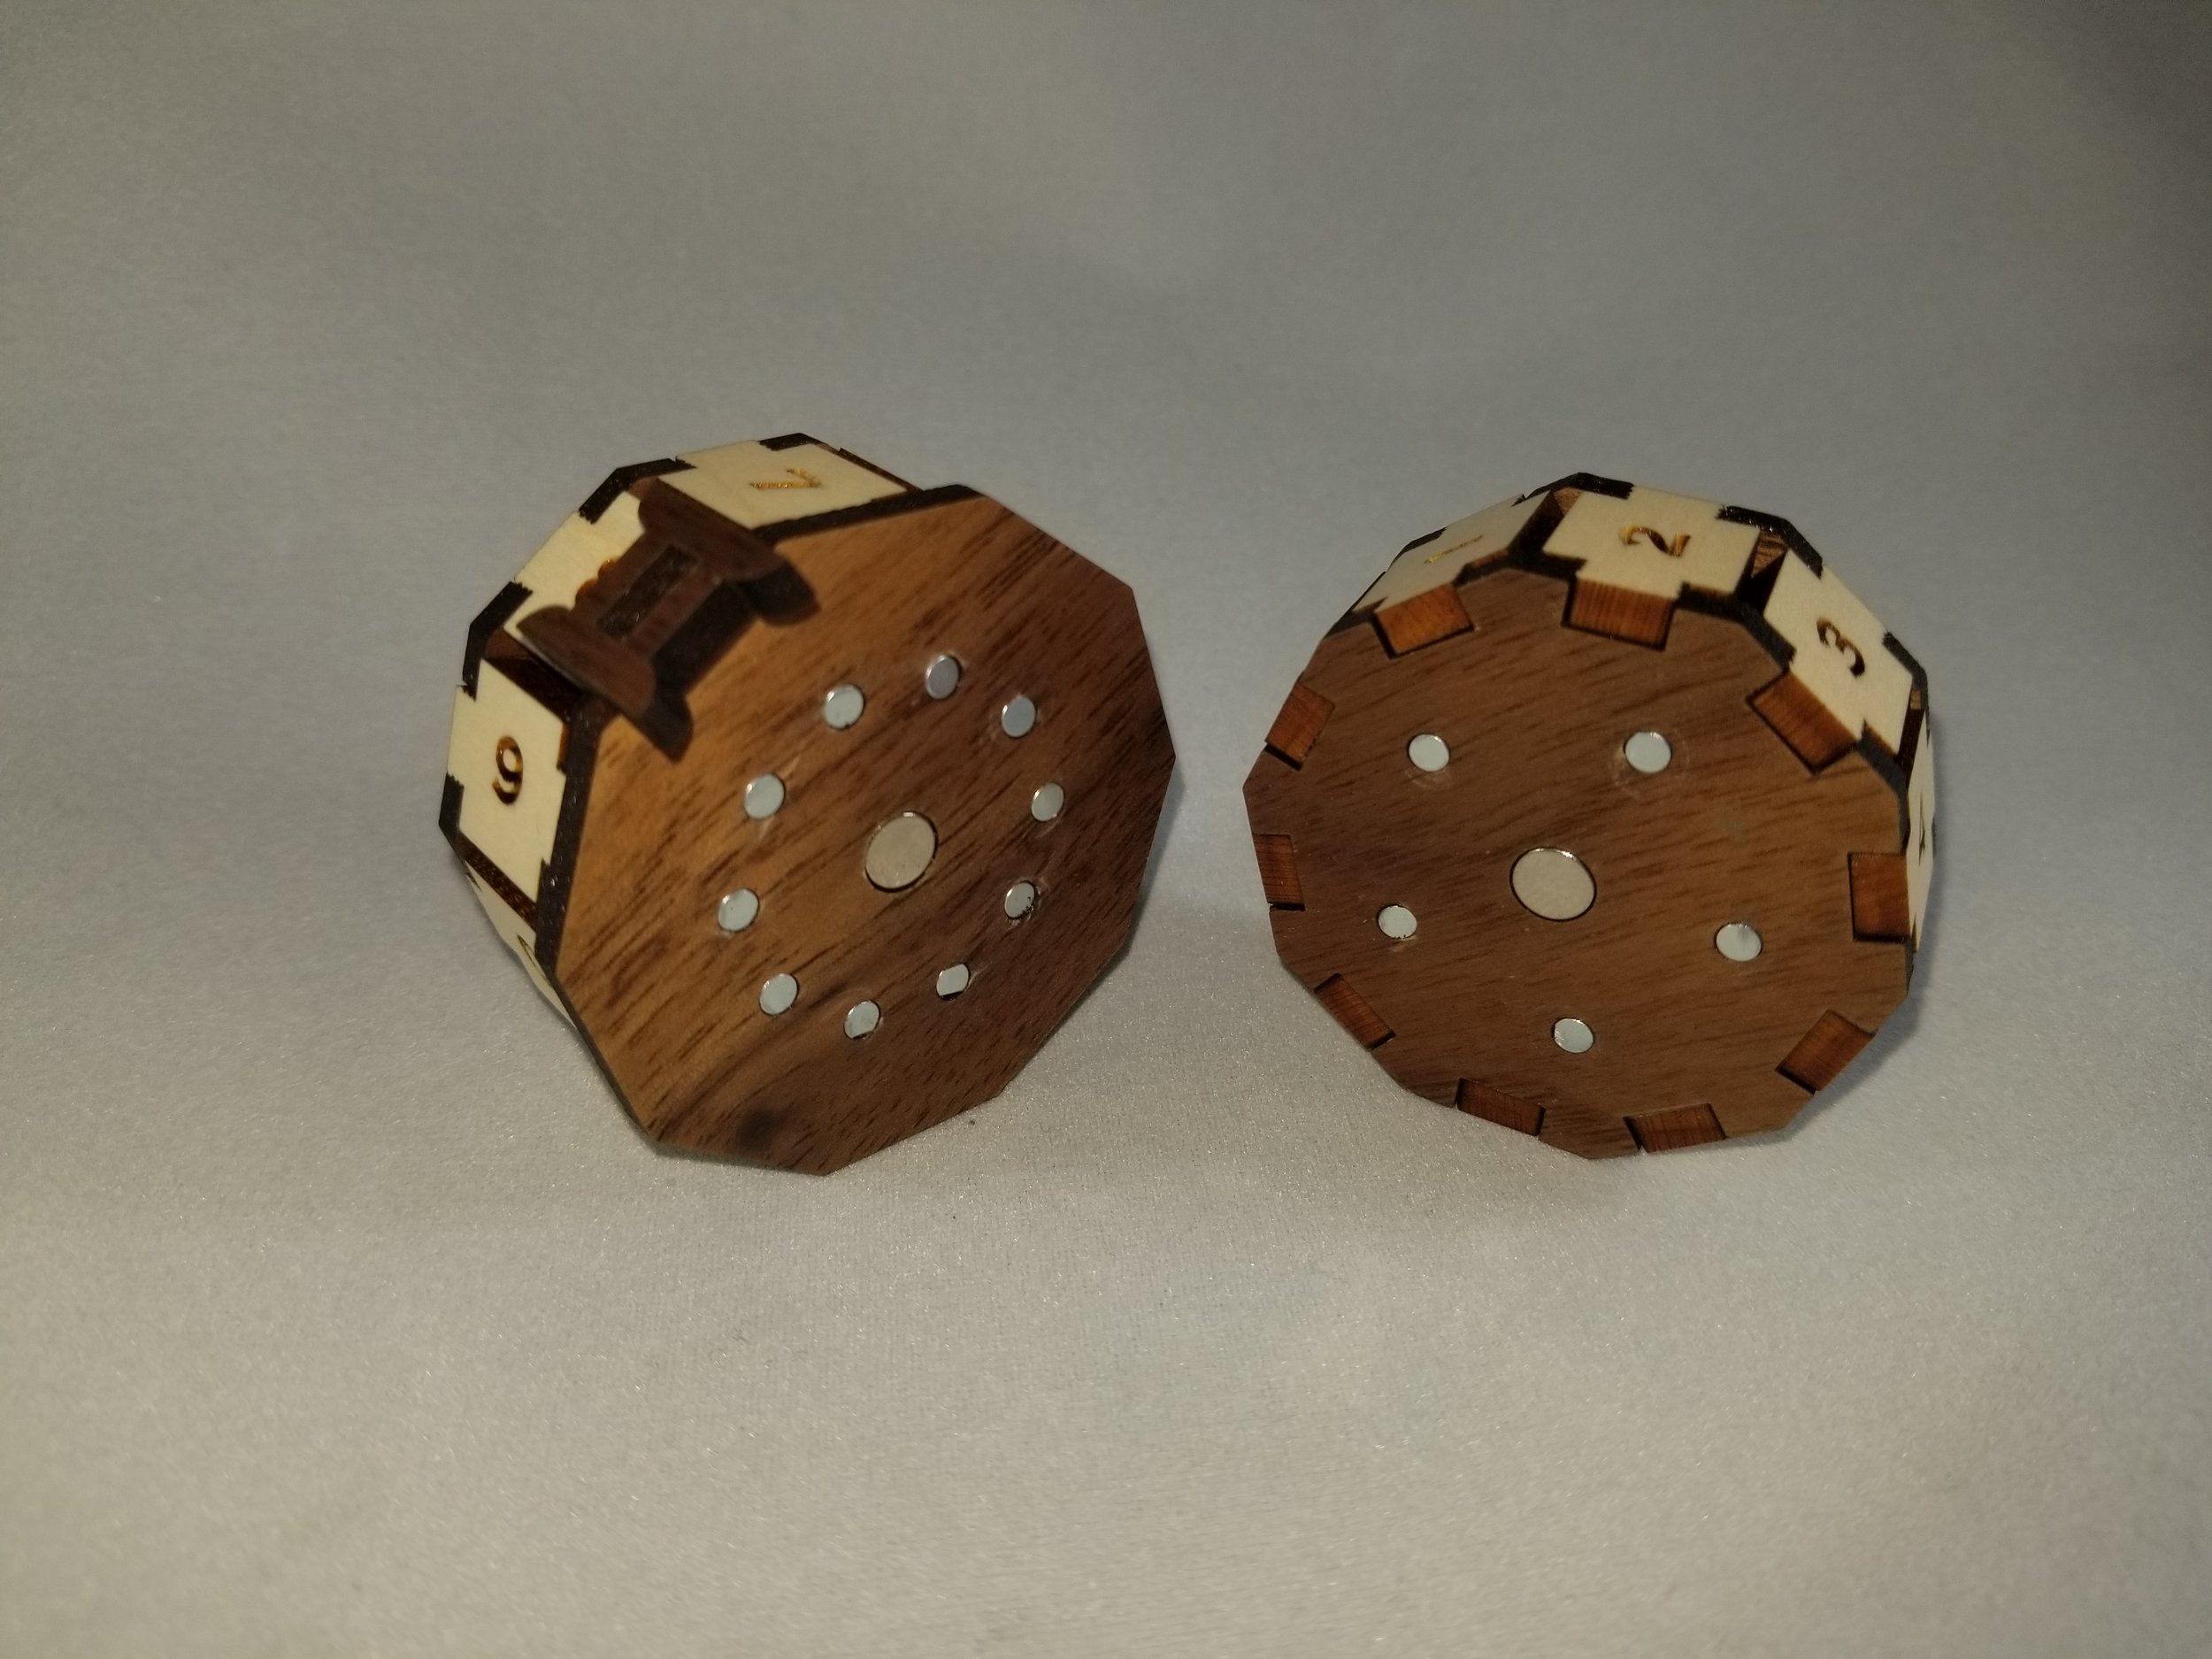
The biggest improvement I made in my design was to make it assemble without glue. I used Dan's serrated tabs to accomplish most of this. I also chose to replace the main axle of the rotary with a set of magnets. This allows additional rotaries to be added later without having to disassemble the entire piece. In order to place the magnets without any glue, I used some scrap material to hone in on the perfect hole size so that the magnets can be squeezed in, and will friction hold in place barring any excessive force to try and dislodge them. This is a great use for any small pieces of scrap material you may have laying around from past projects that you don't know what to do with.

I made my first prototype out of draftboard. It failed to piece together properly. I hadn't placed the serrated tabs just right and the fit ended up being too tight, causing the wood to split when trying to fit it together. I fixed that issue and gave it another go. My second prototype was much more successful but also needed some improvements.

As you can see, the piece still ended up splitting a little bit. Additionally I didn't like that the arrows covered up the numbers that were selected. I scored a public domain design on the side that I found on a french wikipedia page. I ended up leaving this off the final design because I thought the Walnut looked nice enough to be left alone. However, the biggest takeaway from this prototype was how the magnets sat in their holes. The holes weren't quite deep enough for the magnet, so the magnets had a slight lip above the wood and caught when turning the rotary, meaning the turning action wasn't as smooth as I'd like. To fix this in the final design, I slowed down the engrave speed a little from 1000 (max speed) to 900 & 950 on the edge pieces and middle piece respectively. The middle piece I engraved slightly more shallow since it needed engraved holes on each side and I didn't want to go all the way through the material. This slight modification to the engrave speed worked out great and the final product turns very smoothly.
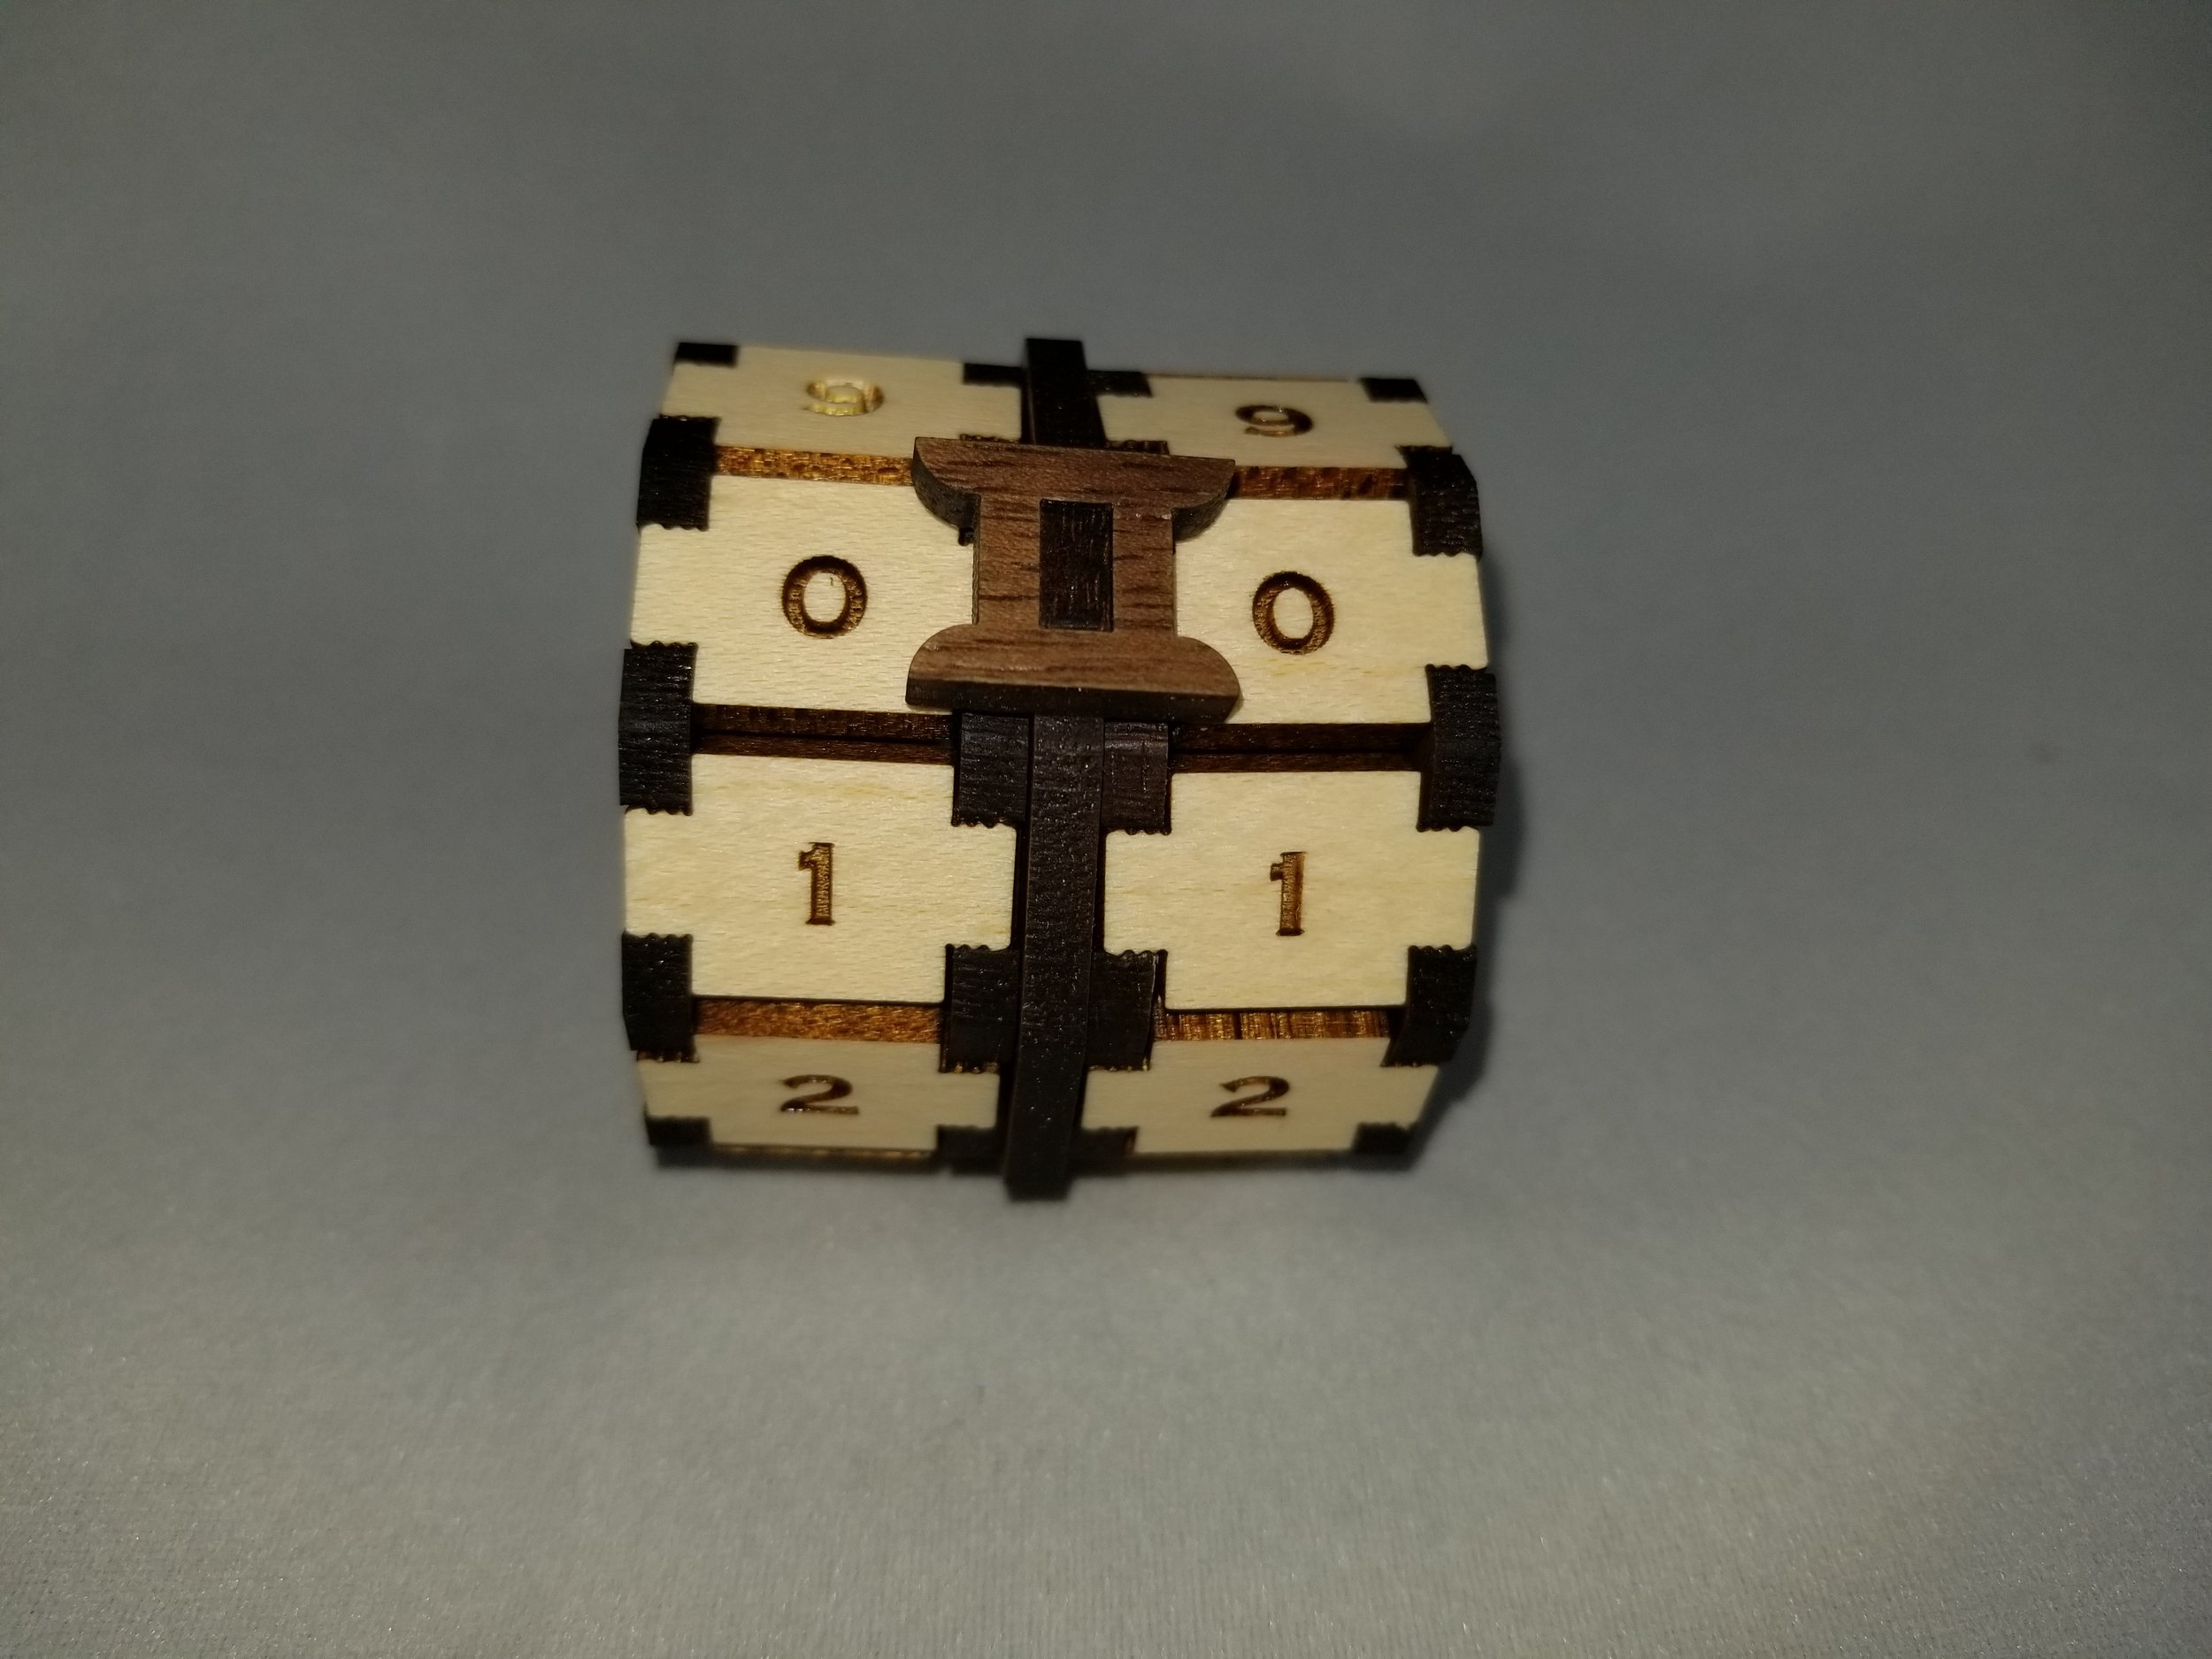
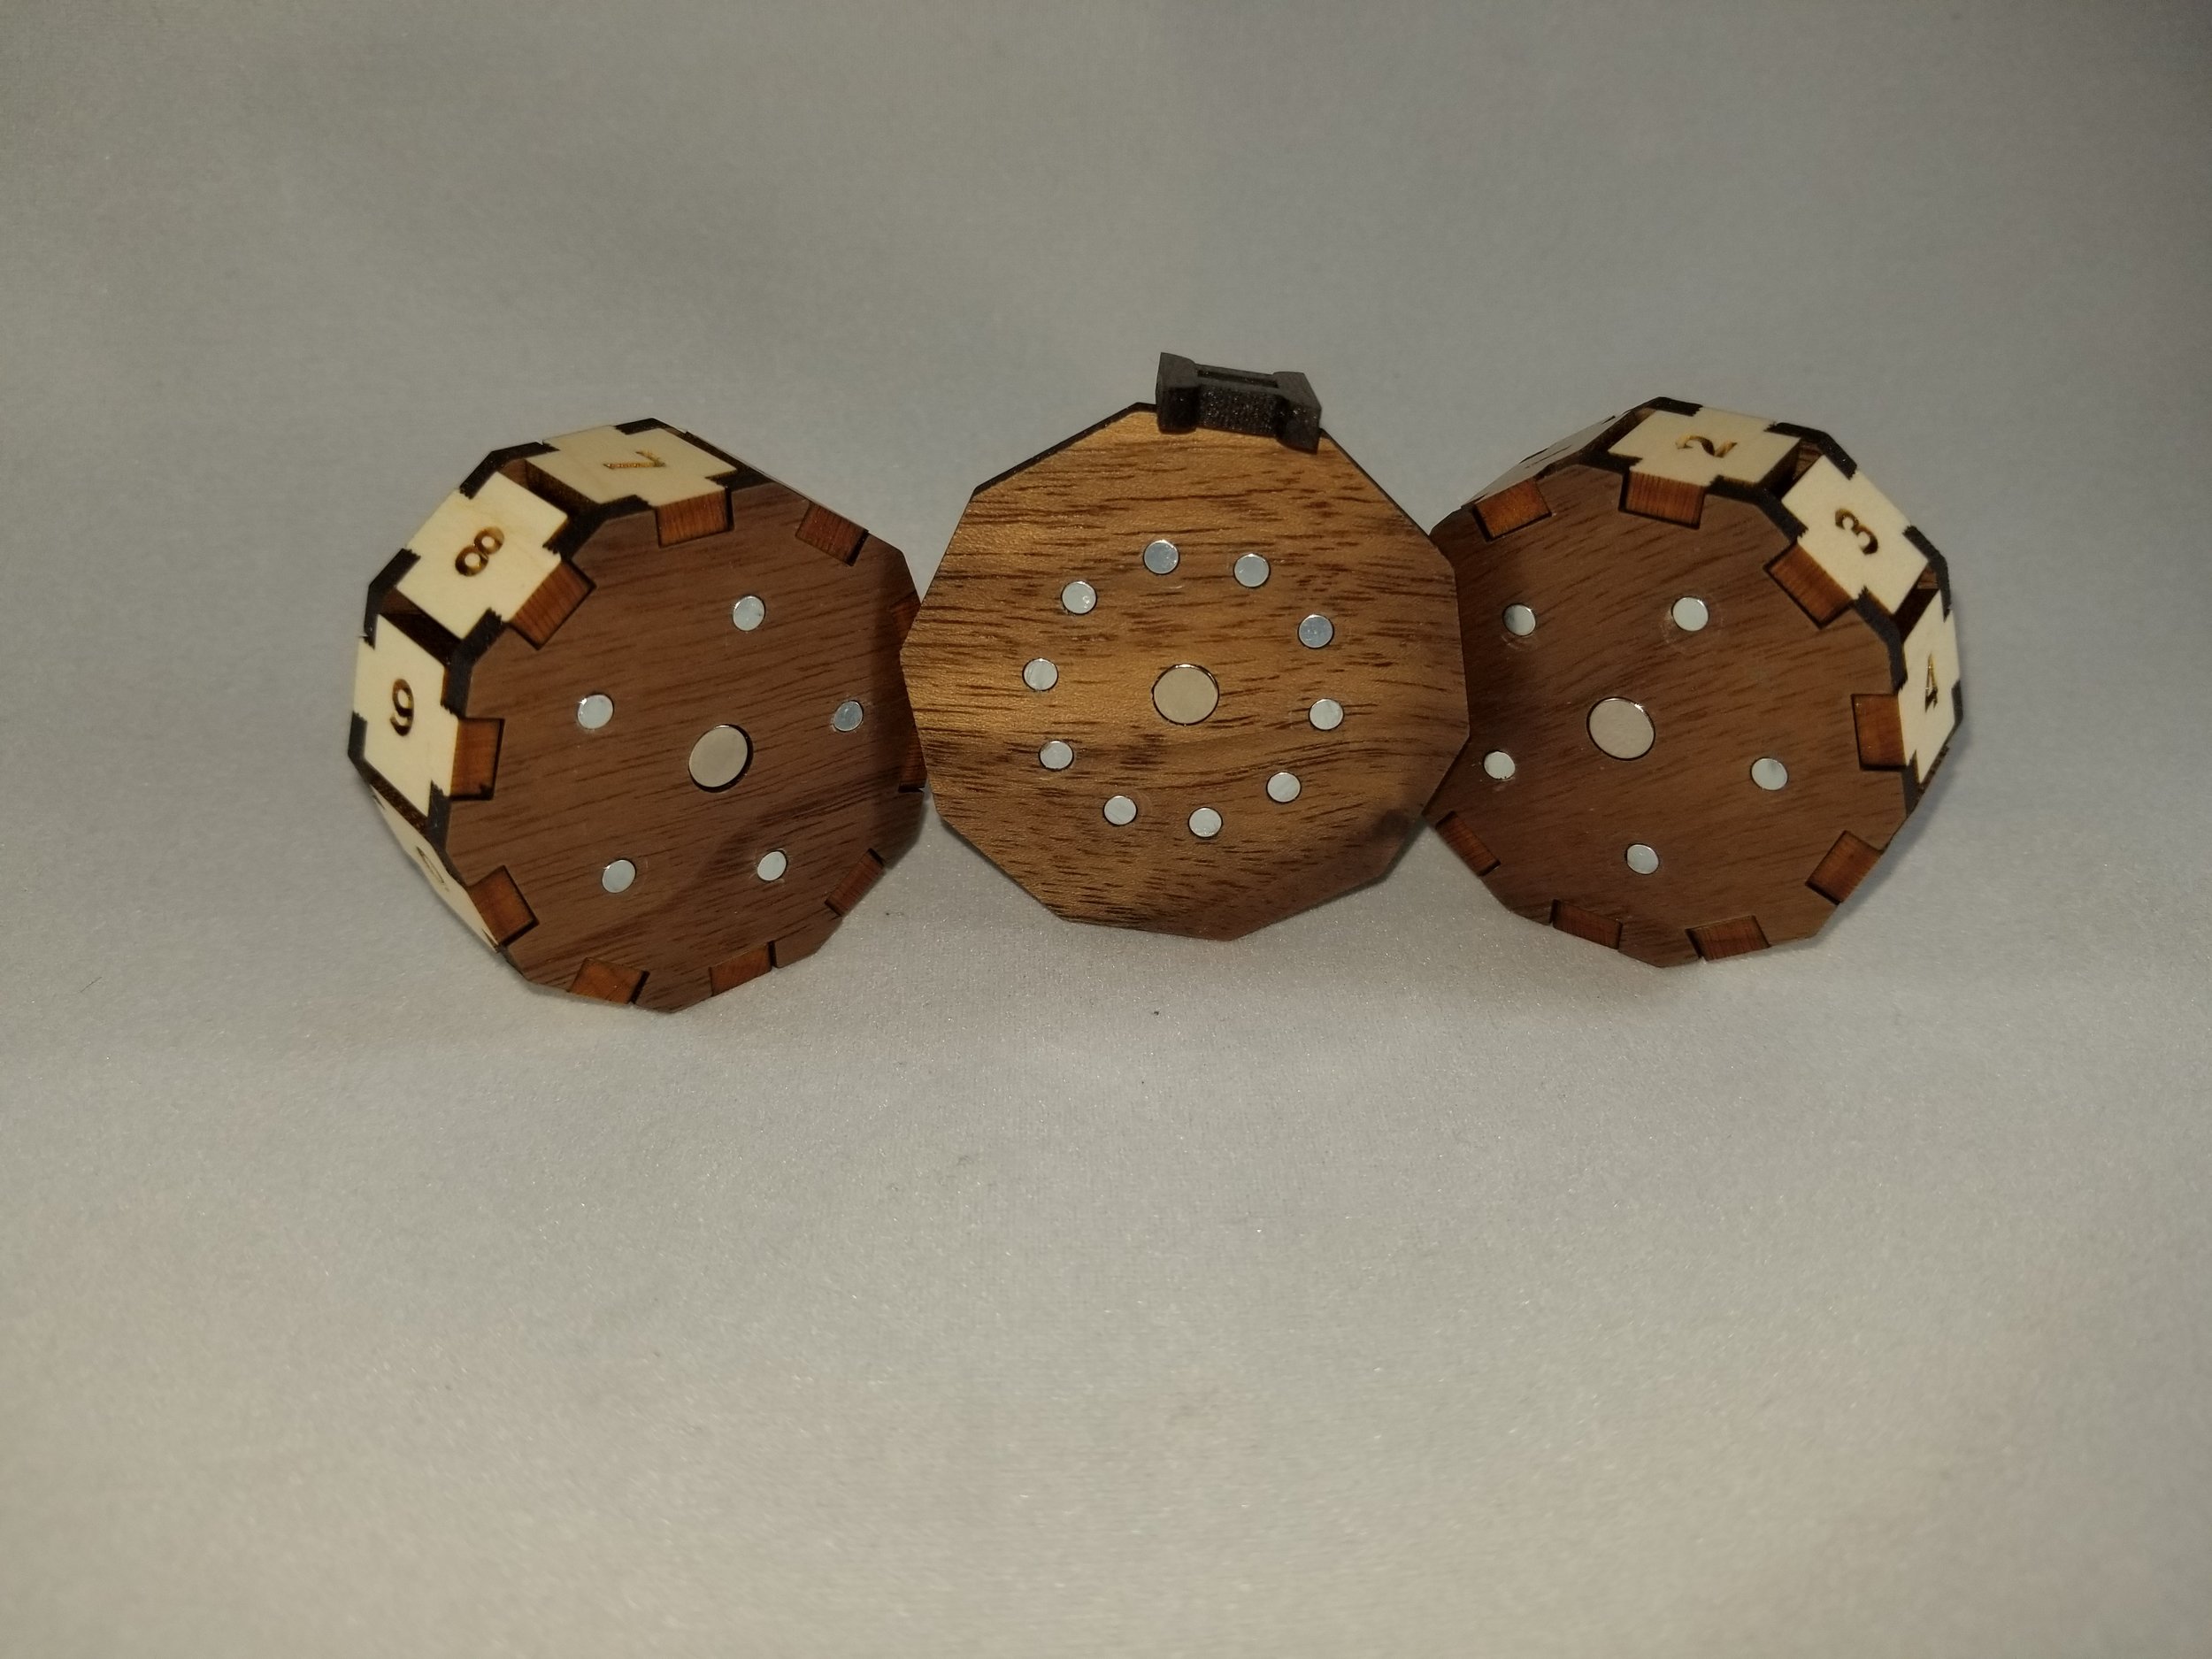
I redesigned the "selection indicator" to remove the arrows and make it more of a bracket around the selected number. I chose to cut the number tiles out of maple so the numbers were nice and visible and cut the rest of the dial out of walnut for a nice contrast. The larger center magnets I used were 6x3mm (making them the same height as the material their embedded in. The smaller magnets are 3x1mm and so fit in an engraved hole rather than a cut one.
If you're going to be making one of these yourself there's a few tips to cutting it and putting it together that may help. First of all, the center piece needs 10 small magnet holes engraved on each side. So after the full cut is completed, you should leave the skeleton material in place, flip the middle piece over in its place, and rerun the engrave for those 10 holes only. To orient the magnets, I placed my first large magnet in the center piece and used this as a starting orientation. I then placed the other large magnets on the side pieces, oriented to ensure they will snap to the center piece with the engraved sides facing inward. I would then drop a small magnet on top of the large center magnet that was held in place. Then I would slide the small magnet over into its engraved hole and push it into place using a flat hard surface. This orients the small magnets in relation to the larger ones and ensures that they will face the correct direction for final assembly. After the magnets are placed, take note if you're piecing together the left or right dial and complete each dial by pressing the number tiles into both side pieces one at a time. The hardwood ended up snapping together much better than the draftboard did. Design files can be purchased from my shop: http://laseredby.me/shop/rotary-game-counter-pattern