Dice Vault
I recently got some stone dice to use for my weekly D&D game night. I’ve got a dice vault coming from Wyrmwood to keep them in, but I got several sets of the stone dice so I decided to make my own vault for the other sets (and while I wait on the preordered one to come in). I’ve been using this, which came with the dice, and while it does the job, it doesn’t exactly do it with style.
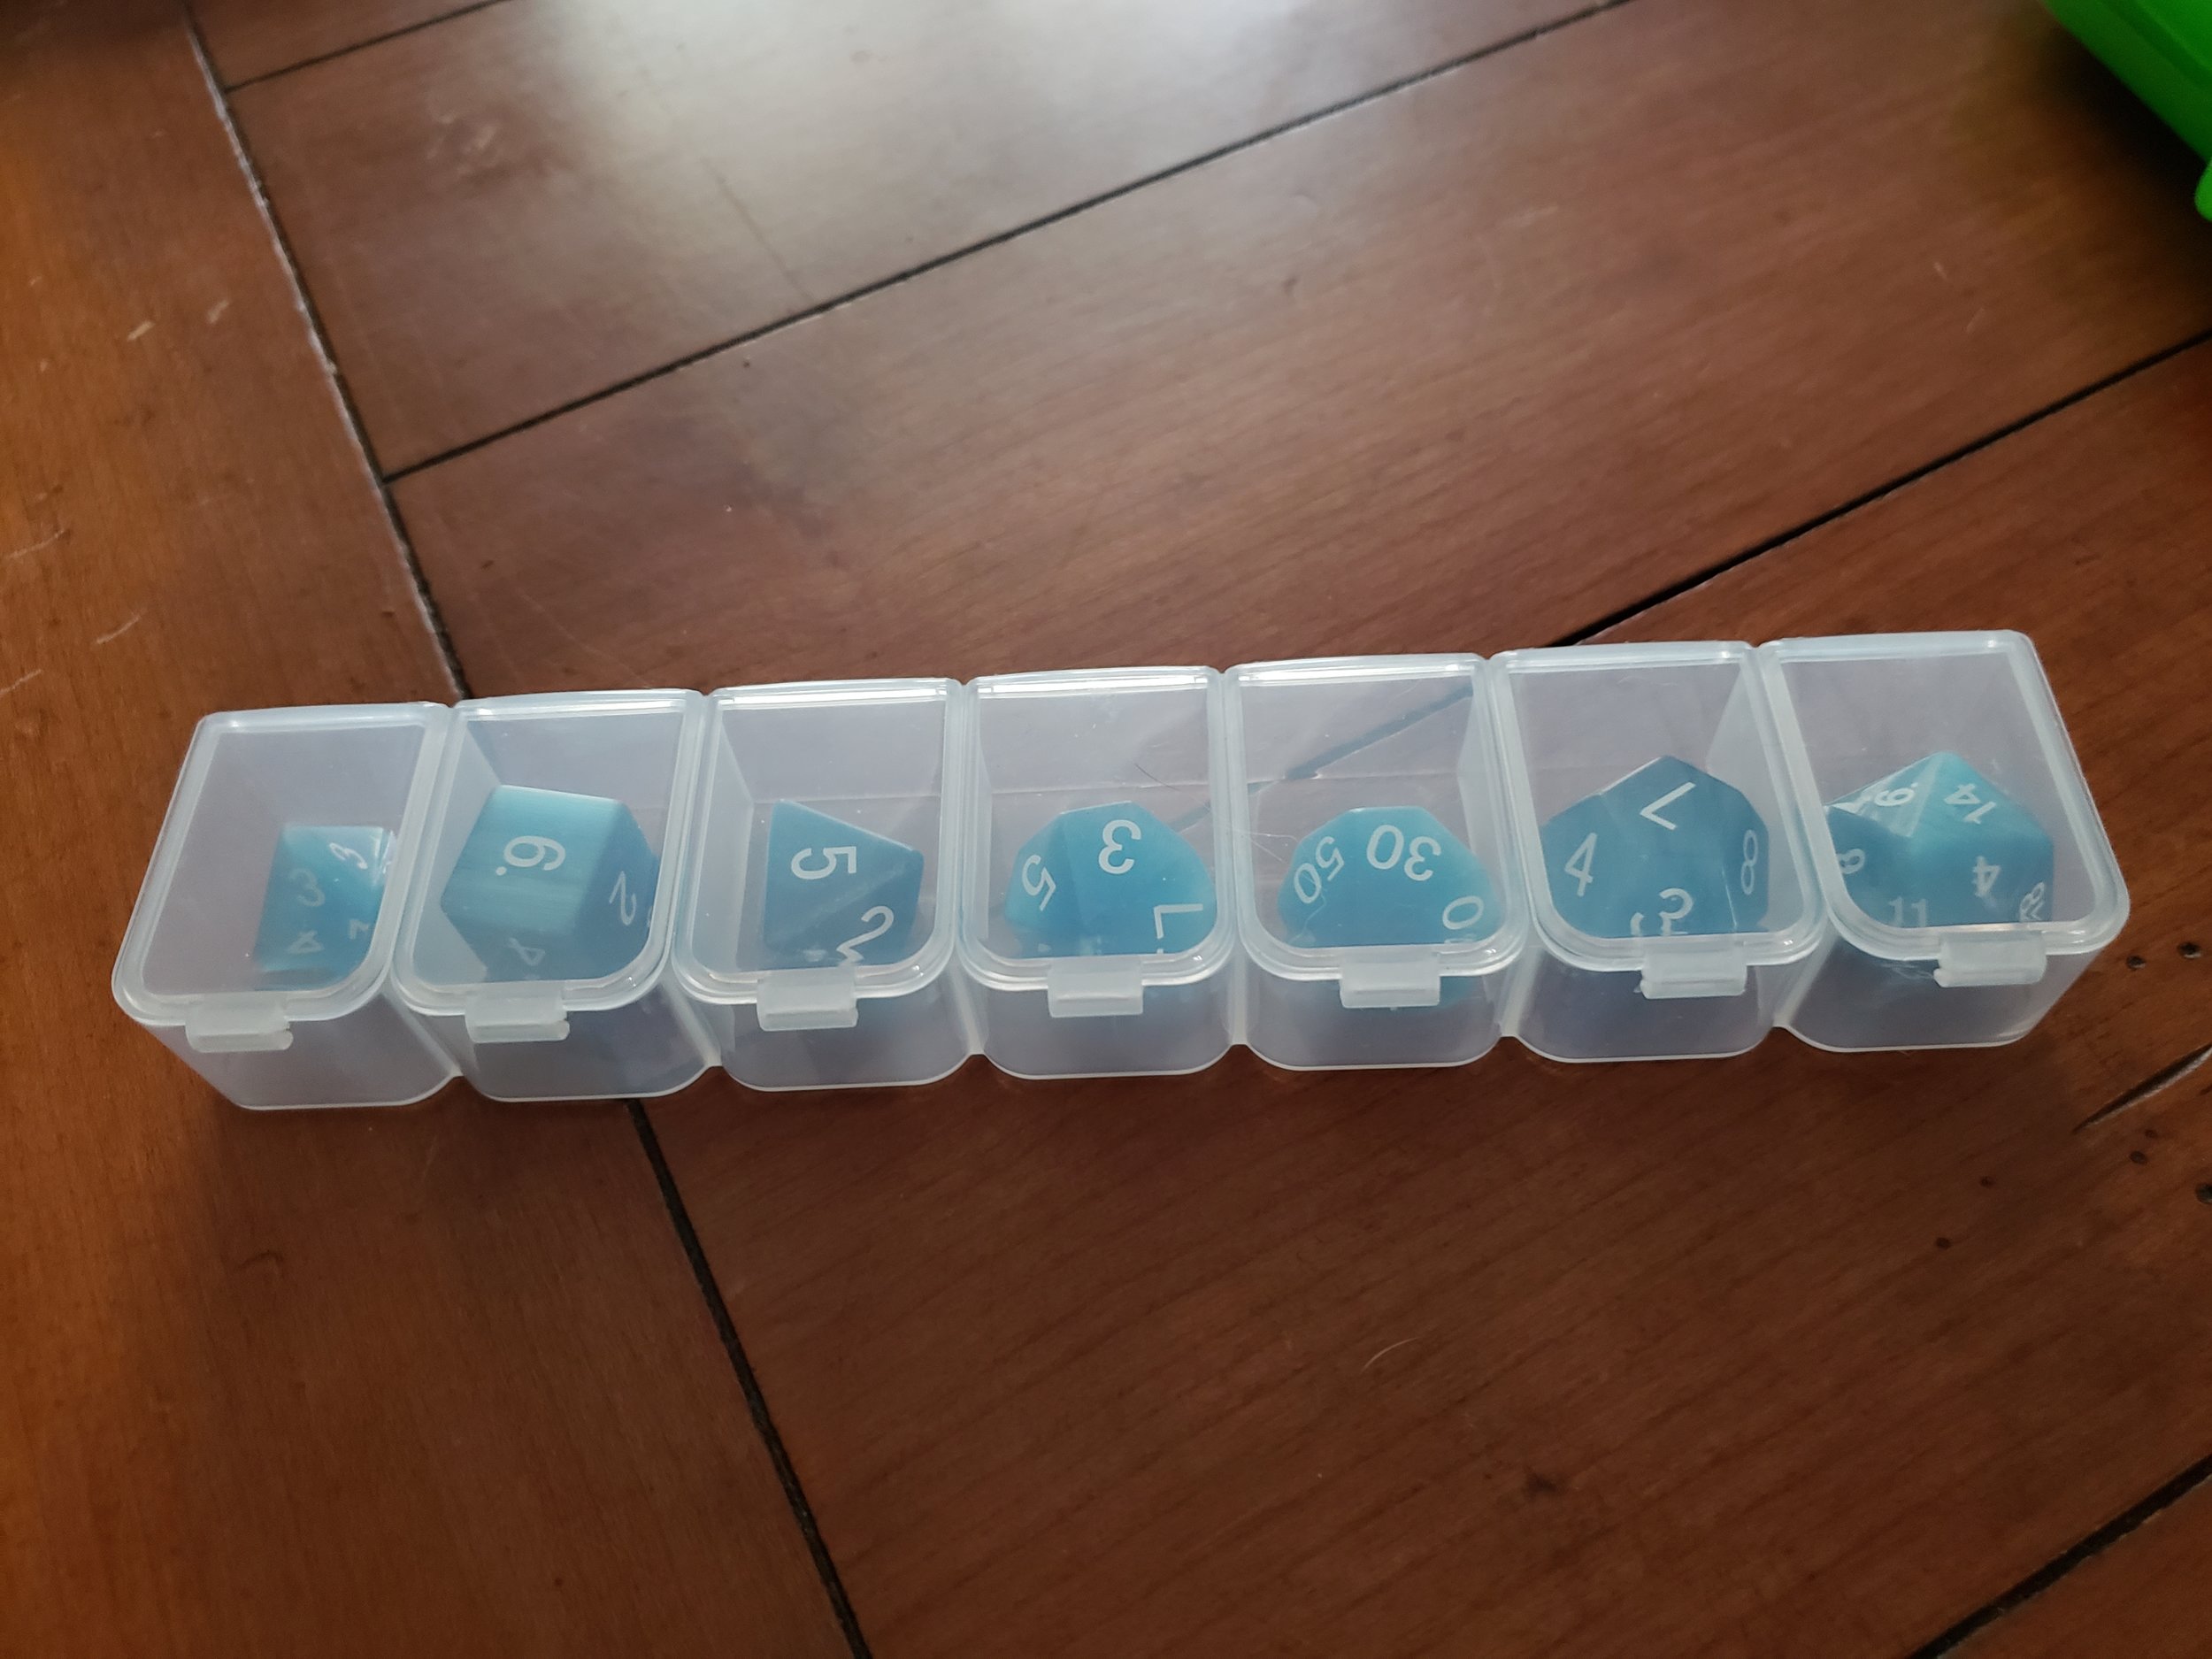
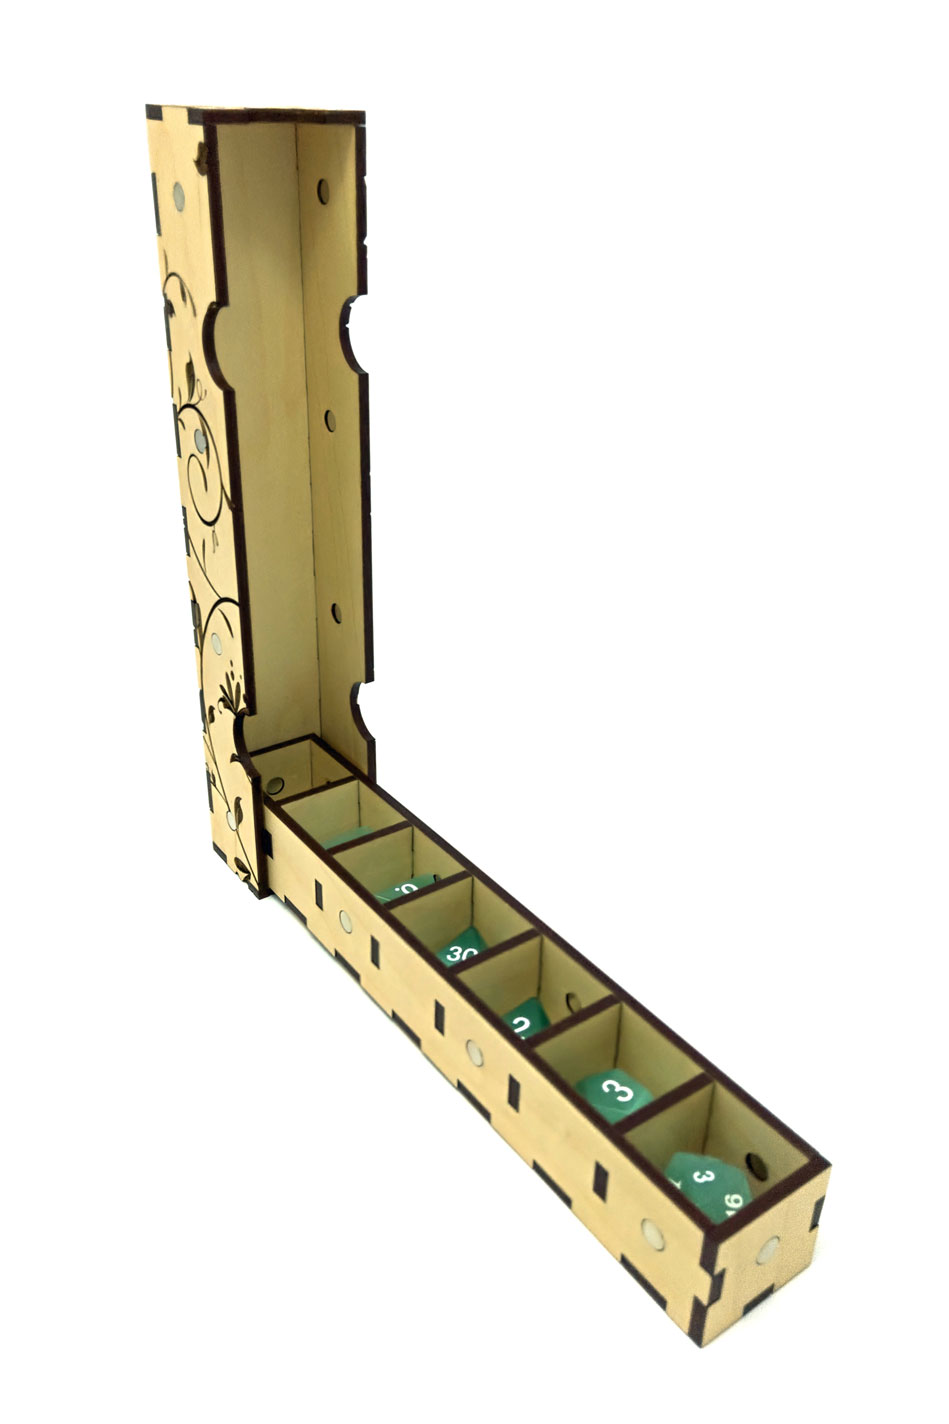
When I went to look online for what others had made, a lot of the designs were hexagons or octagons with cut outs from an insert or stacked layers of material. I had grown kinda accustomed to my horizontal layout of dice and am not a big fan of stacked designs because of how much material they use. So I decided to stick with the pillbox layout.
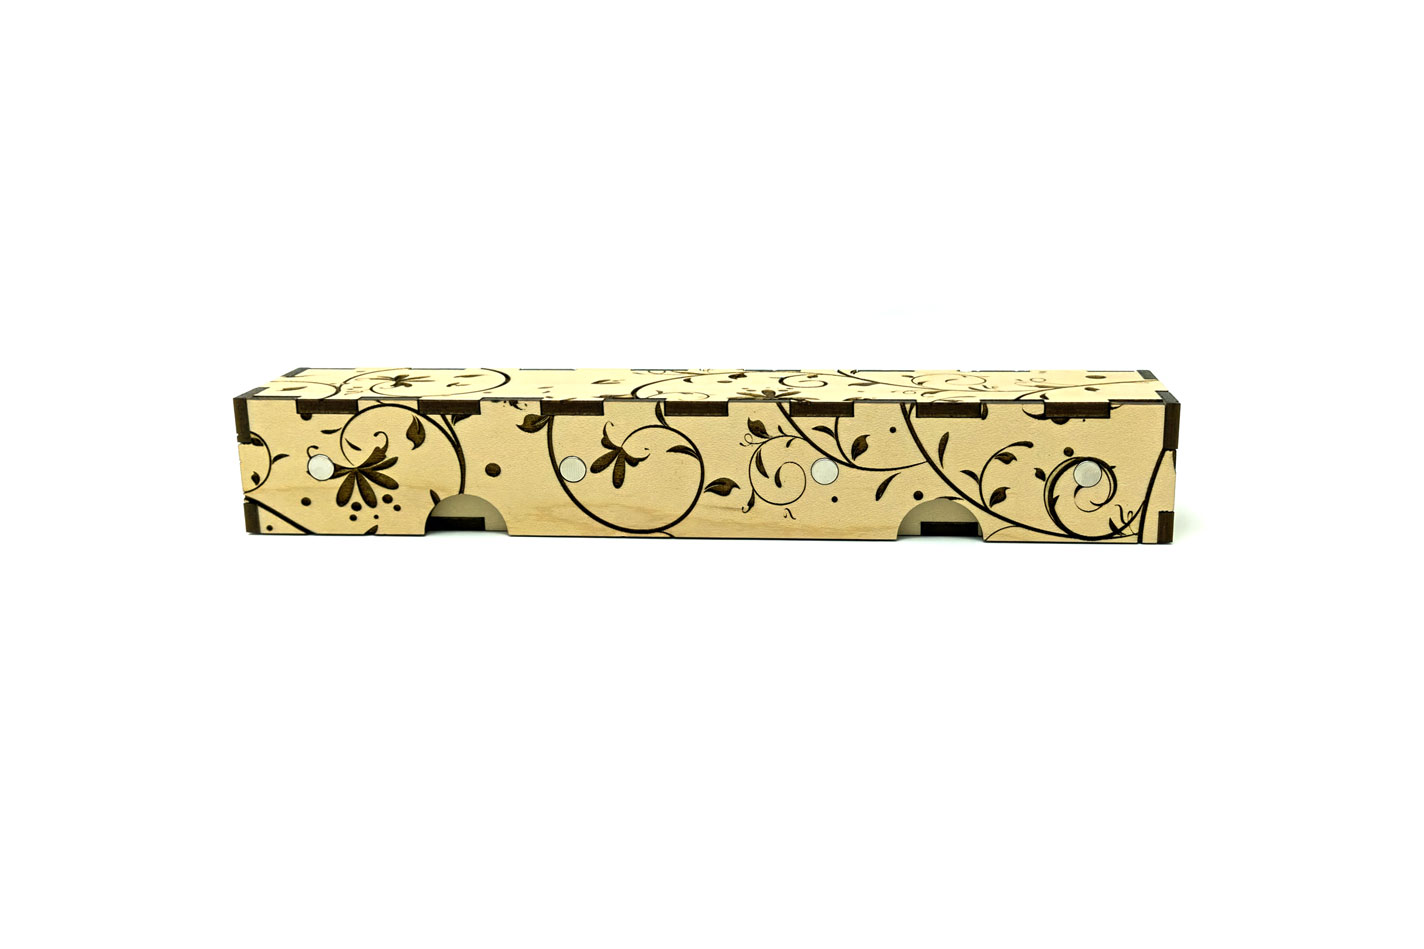
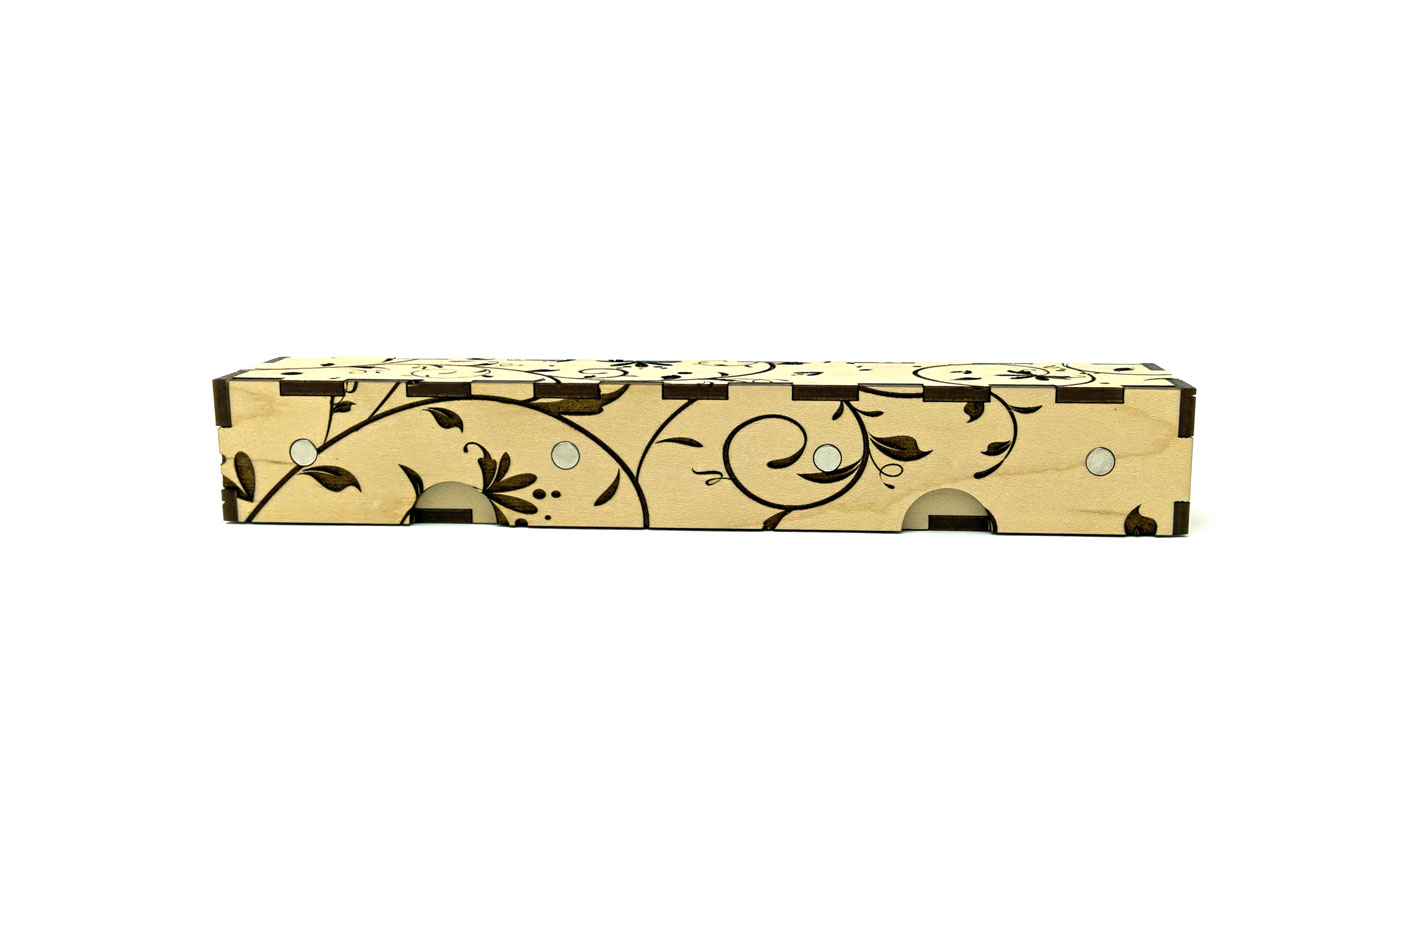
I conceptualized the box in two pieces, the inner piece which holds the dice and a hood that slides over the top. The two would be secured together with magnets…because magnets. To pull them apart, I would have holes in the hood to allow gripping the inner box. And with that I arrogantly proceeded forth in Inkscape, sure that I would make no mistakes this time around.
The first attempt was so rough that I didn’t even bother taking pictures of it. It just looks like a box anyways, so there’s not much to look at. I forgot the finger holes to allow gripping and opening the box. But the biggest problem stemmed from the fact that I was working in Inkscape, but pretending that I was working in Illustrator. There’s a painful difference between the two vector editing apps. When displaying the size of an object, Illustrator just takes the raw size into account, while Inkscape includes the stroke thickness in the measurements. IE, One measures based on the center of the objects stroke, one measures based on the outer edge of the object’s stroke. So for example, lets assume the stroke thickness is .01”. In Illustrator if I draw a box and set the size to 1 inch the box will be 1 inch. If I do the same in Inkscape, it will measure .99” (plus the stroke thickness means it displays as 1” in the UI). So all of my tabs and magnet holes were slightly too small as I was using measurements developed in previous projects that I did in Illustrator. This meant the material had to be forced together very tightly and it tore it up in some places from forcing a large tab into a smaller hole.
For my second attempt, I adjusted the tabs and magnet hole sizes. But I forgot the finger holes again! Grrrrr. Added finger holes and I finally got something that was somewhat functional. I made a few more tweaks and finally got a test cut that I was relatively happy with.
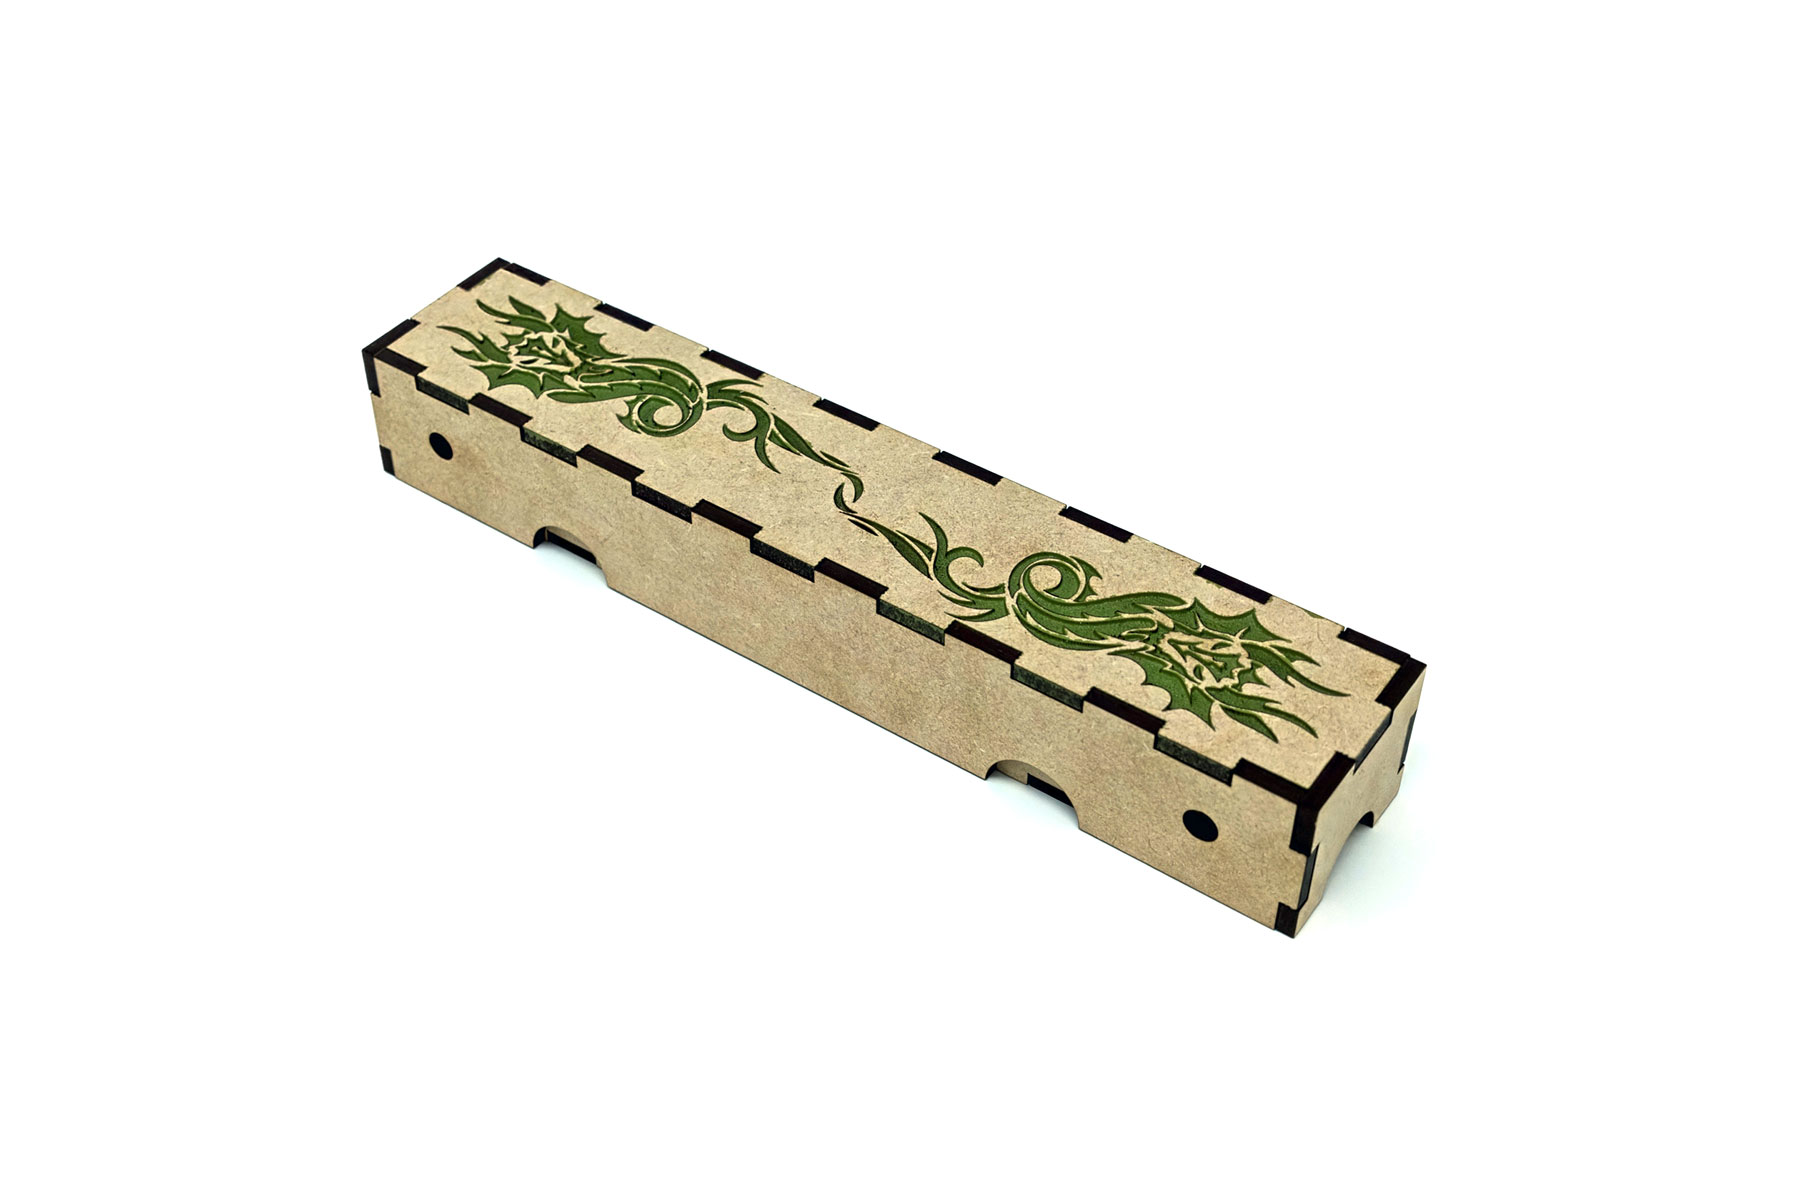
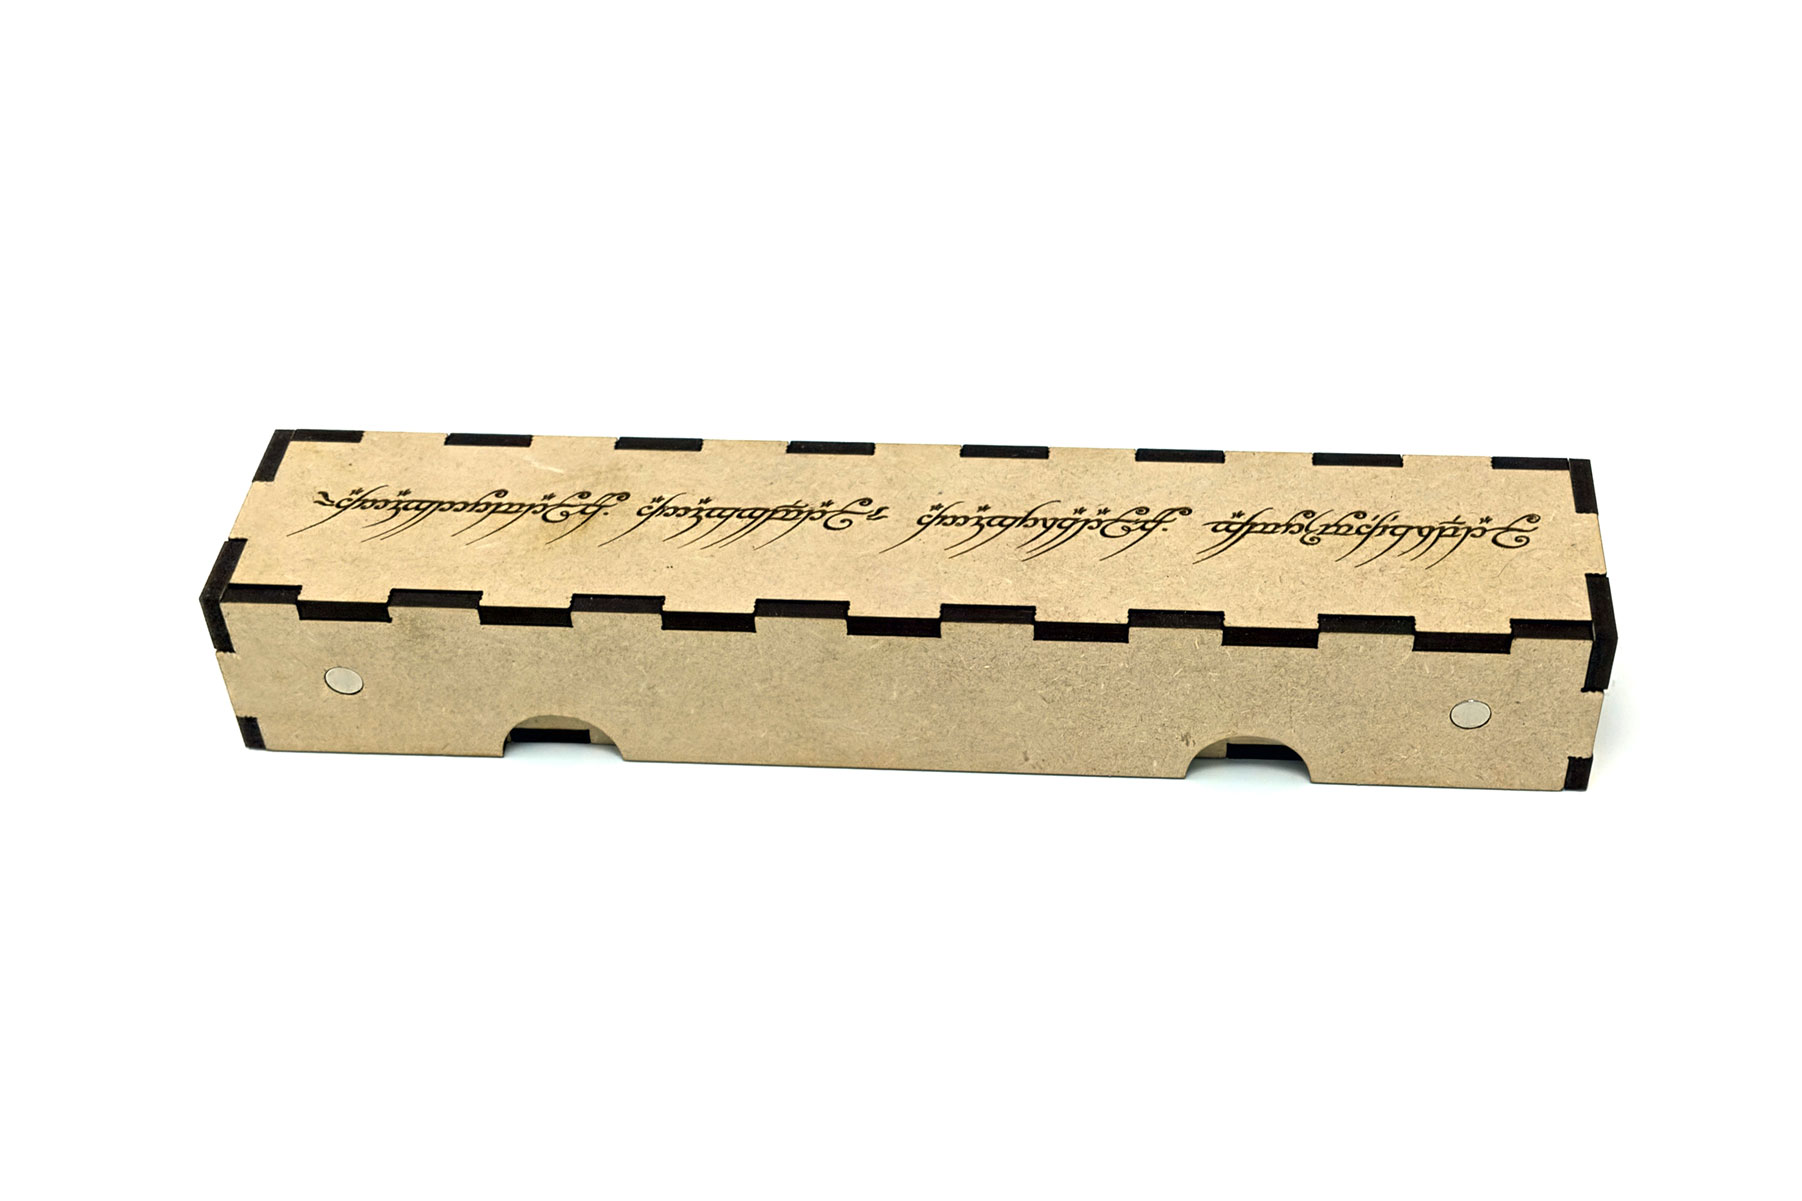
I tried a couple of engraves on these attempts. One was the One Ring text from LotR. The other was a dragon I purchased from stockunlimited.com. For the dragon engrave I tried out a new technique that I’ve been meaning to go. I spray painted the piece after lasering it, but before removing the masking, resulting in only the engraved parts being colored. I was inpatient and took off the masking before the paint was completely dry, so it wasn’t a complete success, but it was quick and easy and I plan on using the technique in a future project. The test cut was the only one where I actually used the dragon engrave. I’m a big fan of natural wood grain and I felt like the engrave took away too much of that for one of the finished pieces.
I decided to do one more change before moving onto the finalized materials. The 4 sets of magnets held the top on but didn’t feel secure enough. You could shake the bottom part loose when it was weighted with dice. So I changed from 4 sets to 10 sets.
I did a couple more engraving patterns using vectors I found on stock unlimited. One I did a cats themed for a friend and another I did with vines that ended up being my favorite looking. The vines aren’t continuous across sides, they’d be even cooler looking if they were. But that woulda taken more time and I wanted to try a simpler version first. The difficulty stems from another minor difference in Illustrator vs Inkscape. To do get the engrave matching with the cut pieces, I copied the cut pieces and then did an intersect operation on the engrave and the cut piece. Unfortunately, the engrave files are all individual pieces. If you group them together, they can be treated as one, but Inkscape doesn’t let you do intersections on grouped objects for some reason (Illustrator worked fine with this). The result was that for each individual path in the engrave, I had to do an intersect operation with a new copy of the cut lines (the intersect consumes the path). This made the process very tedious so I took the simpler approach.
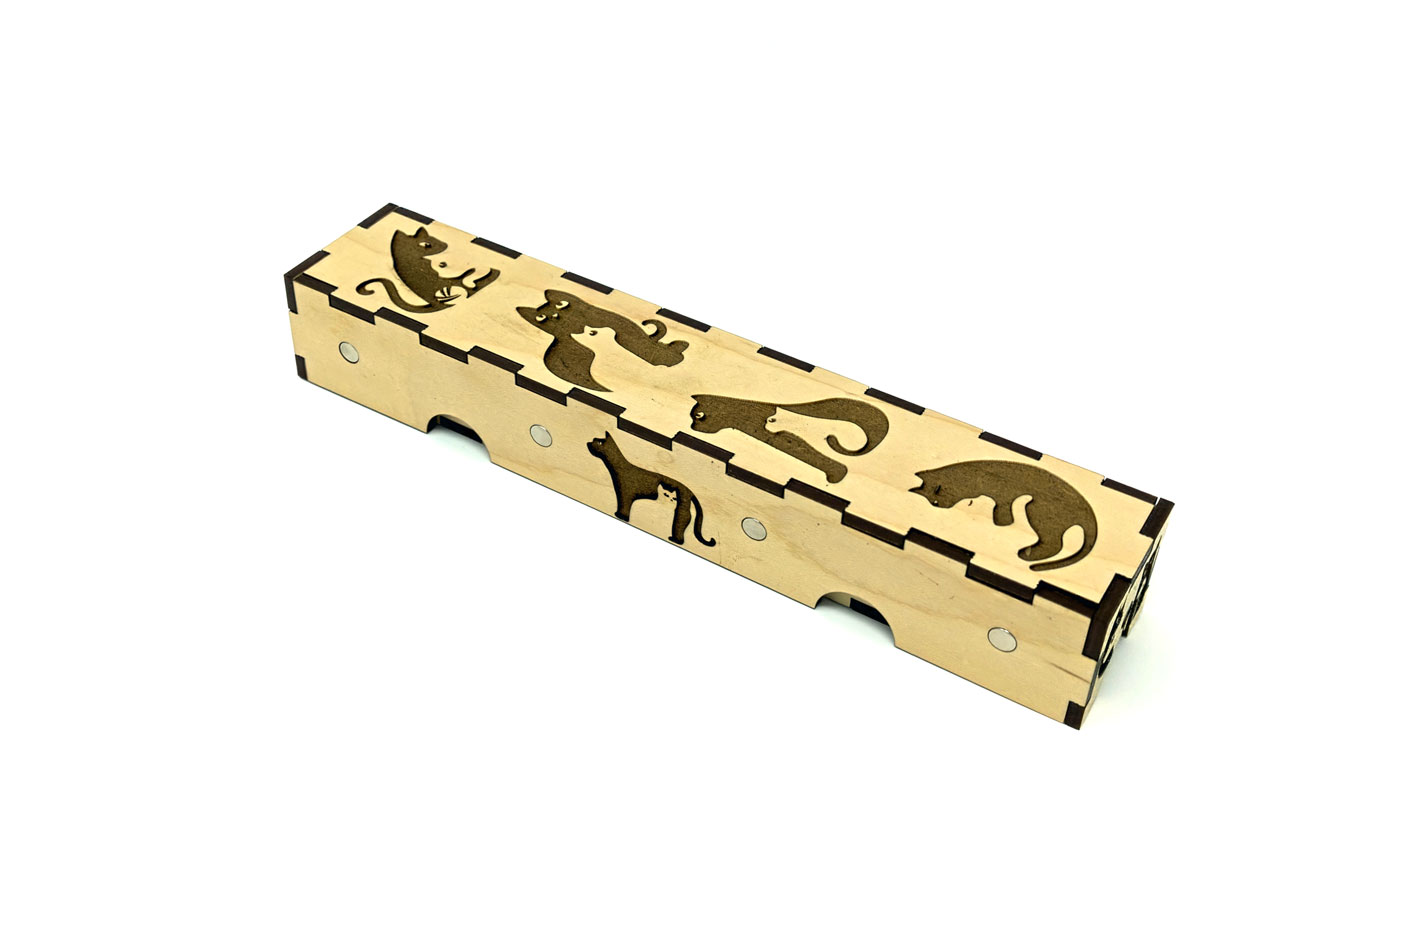
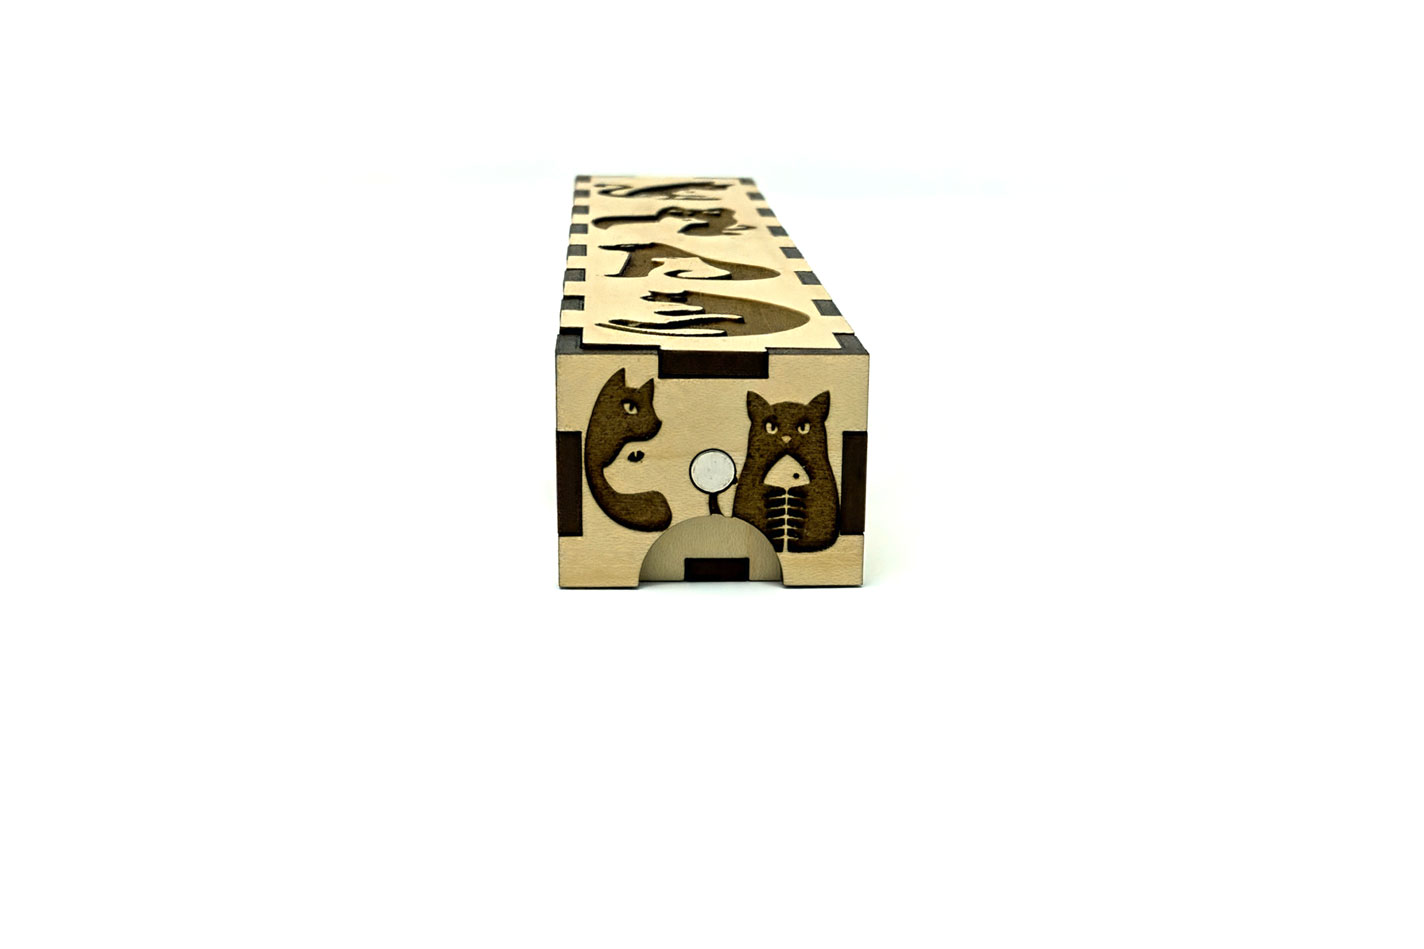
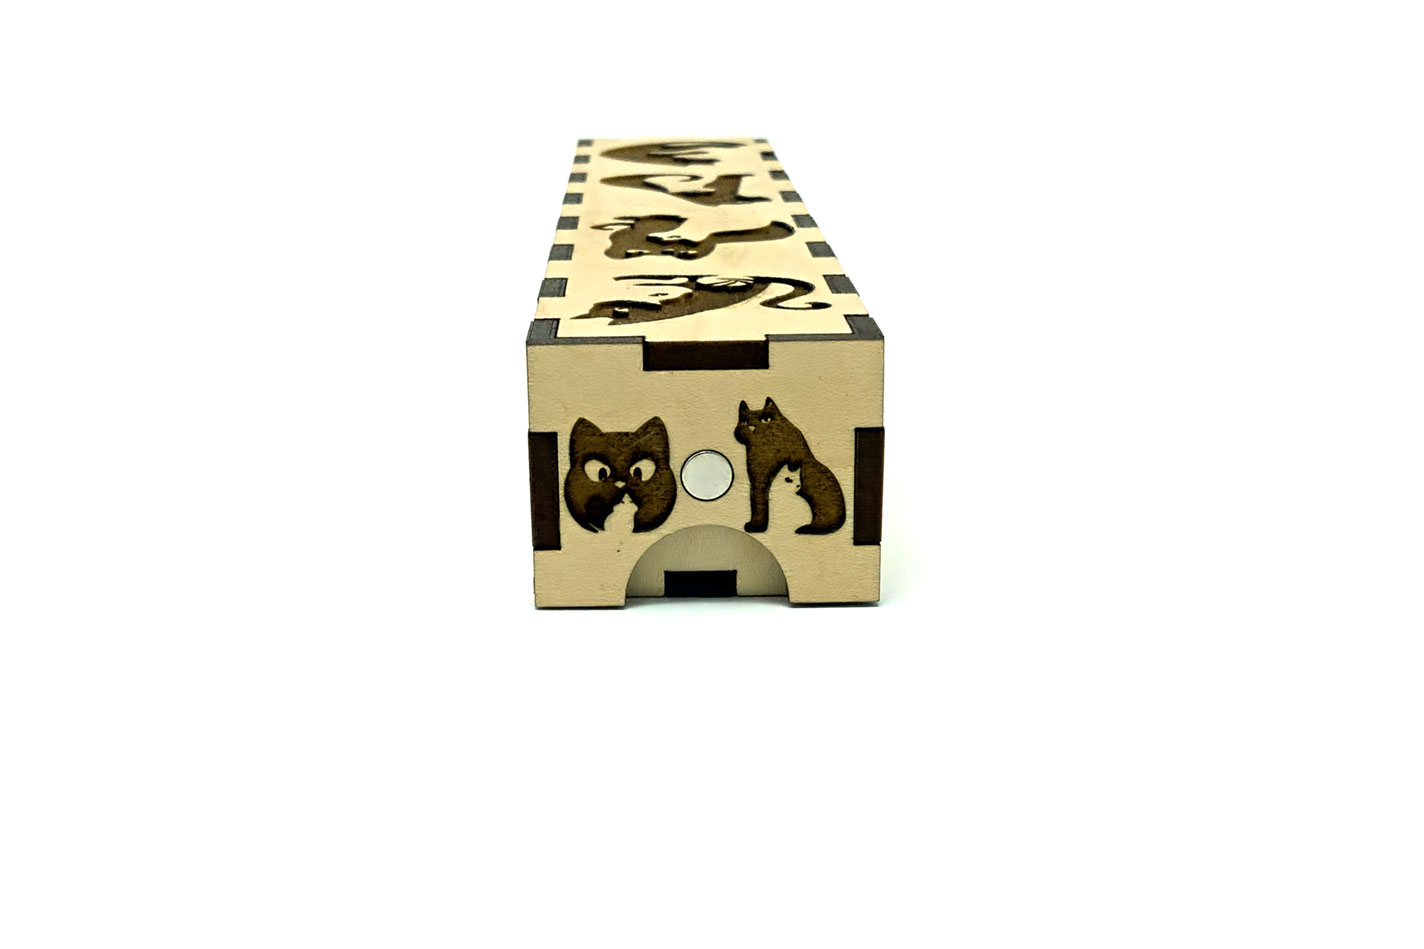
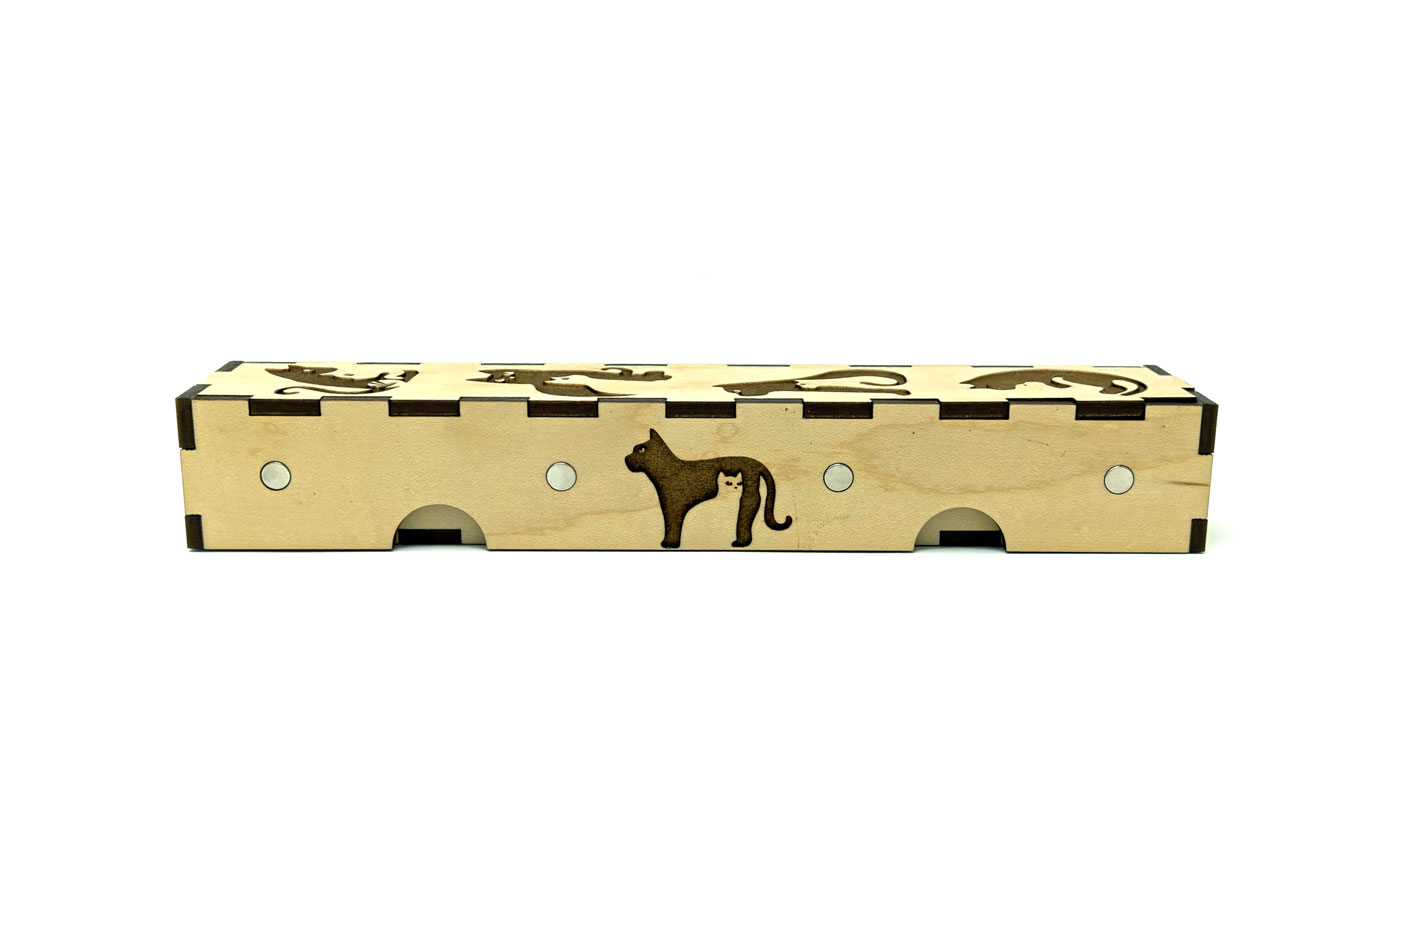
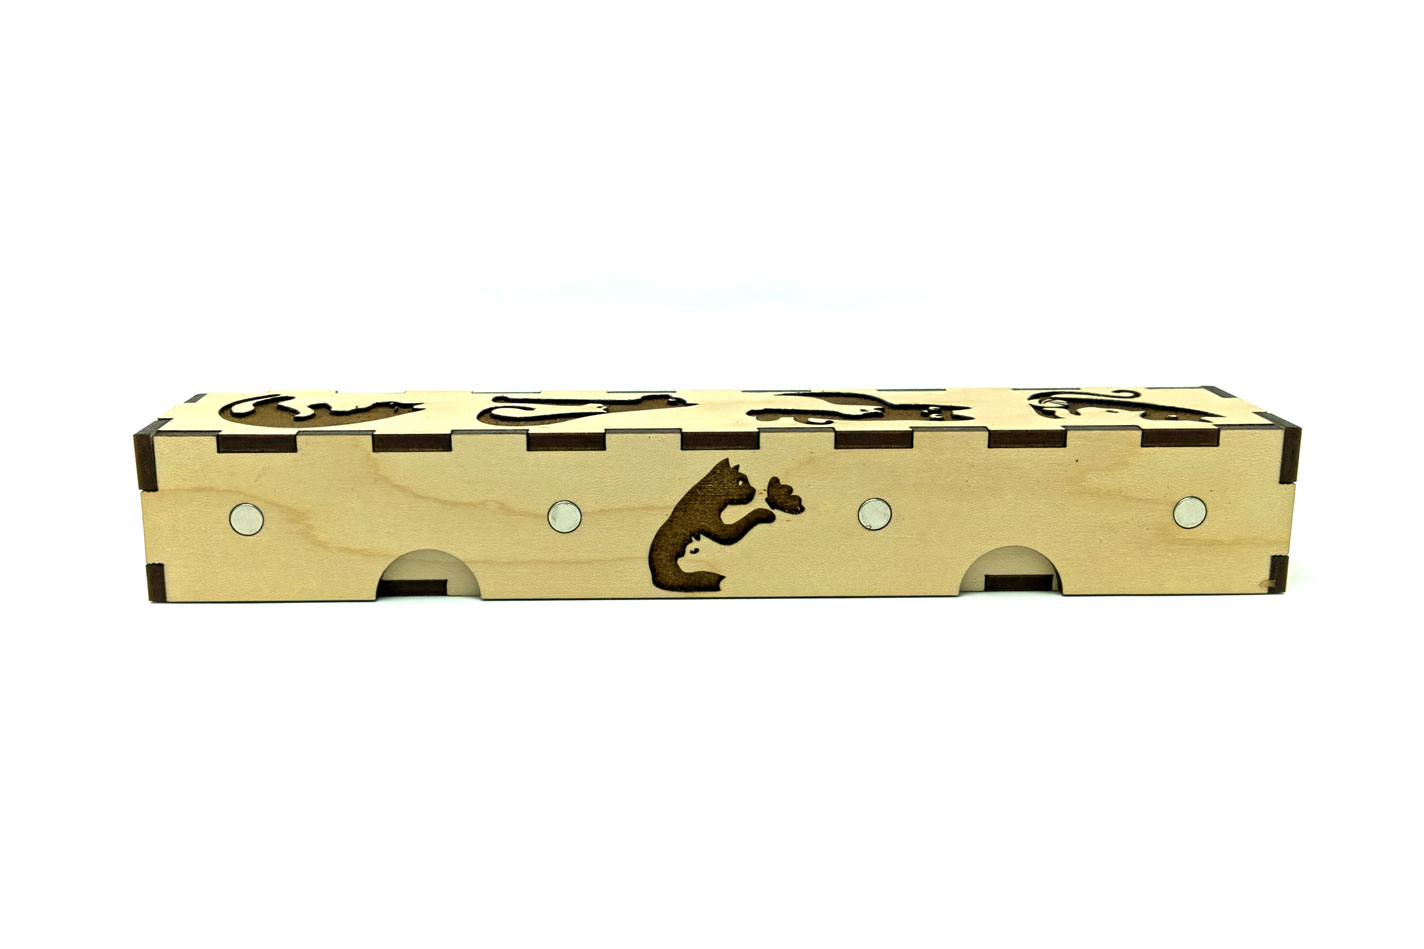

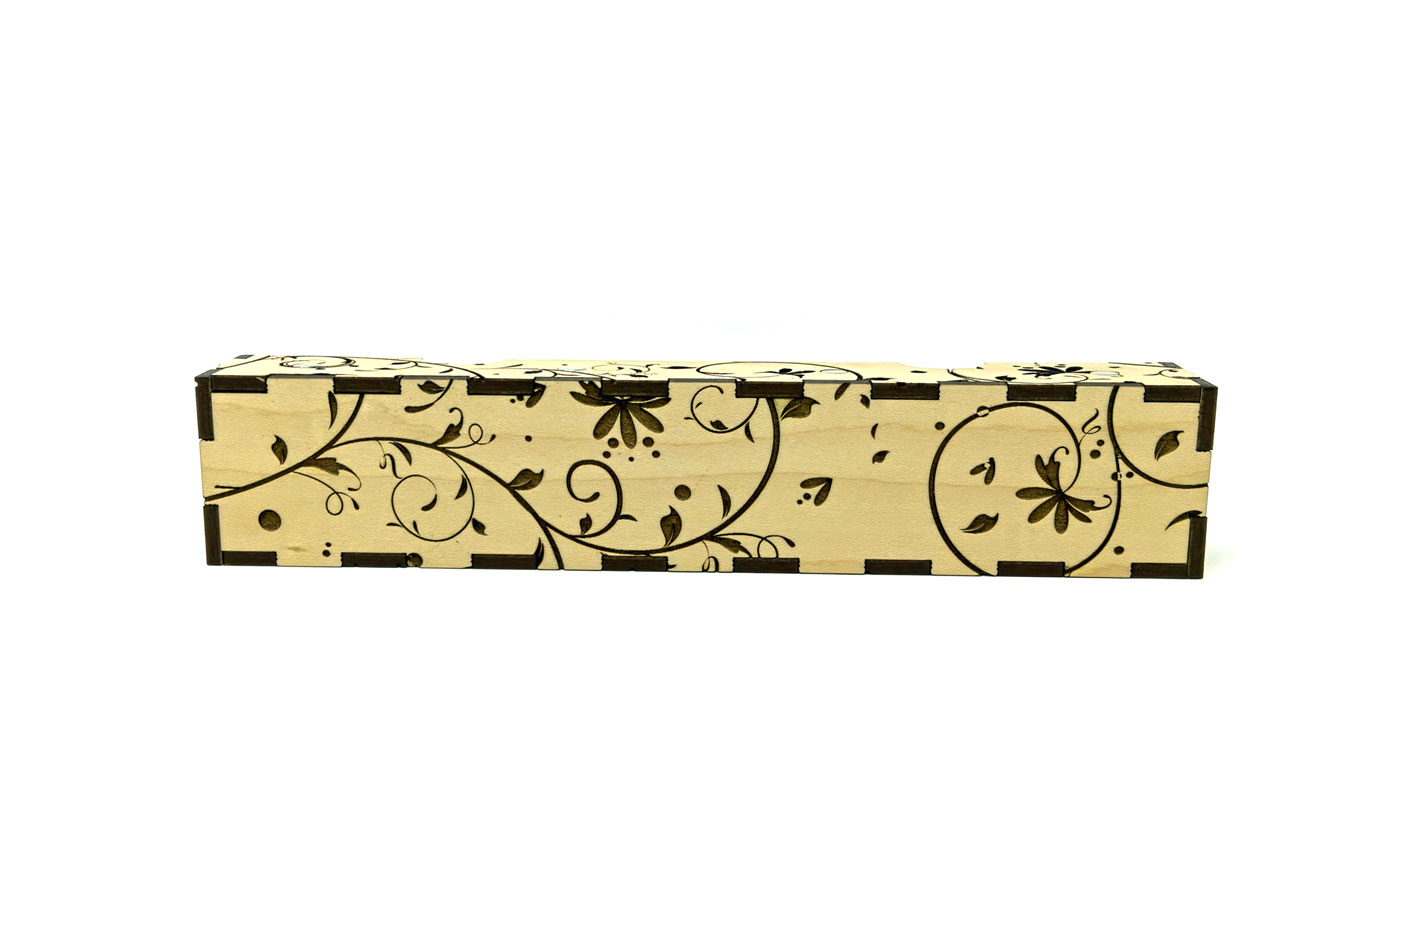
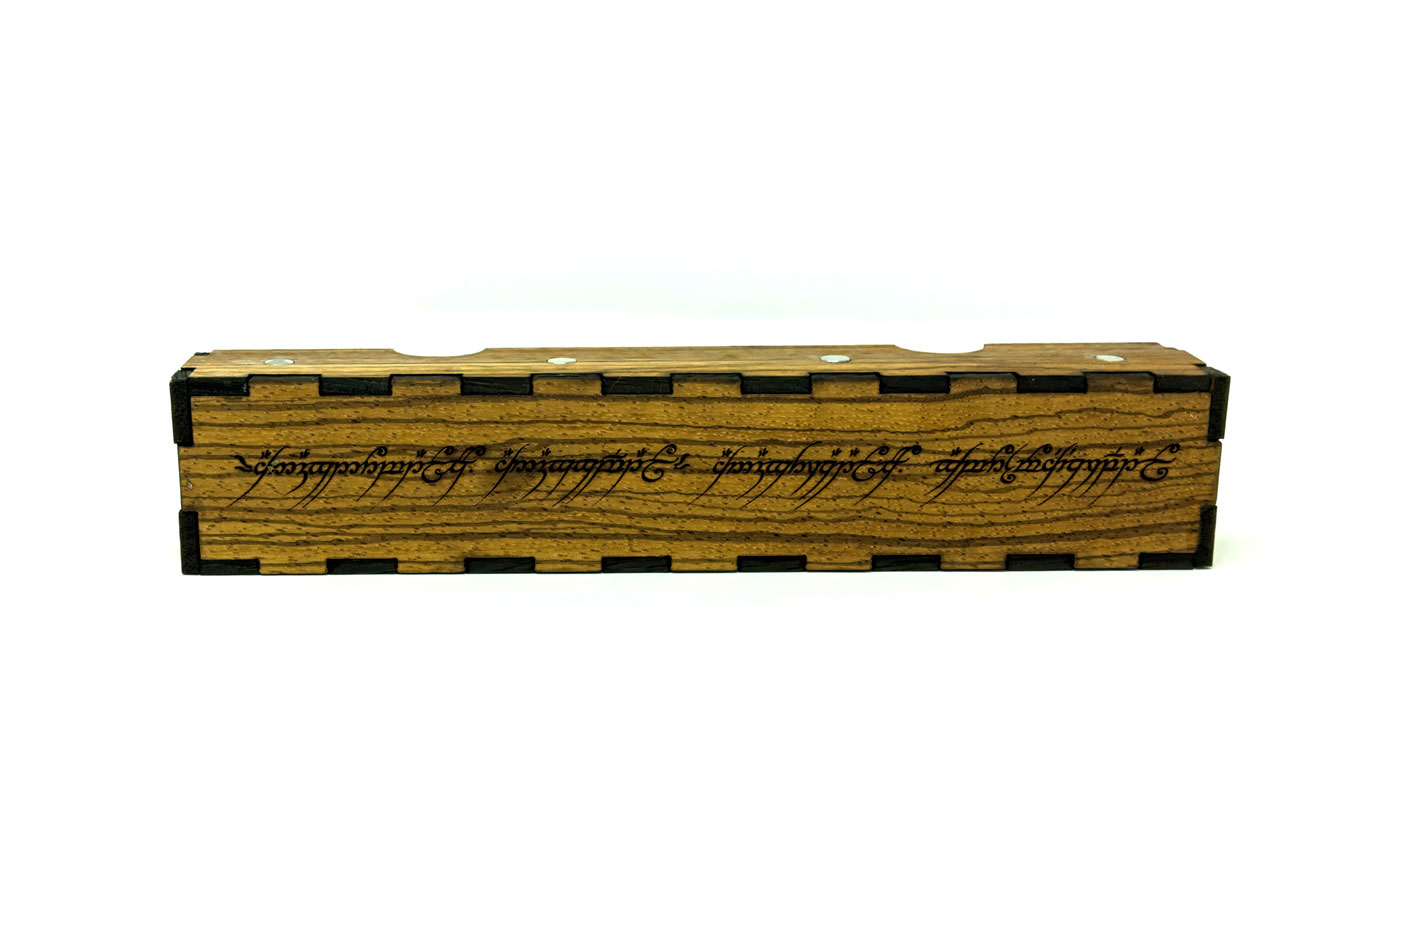
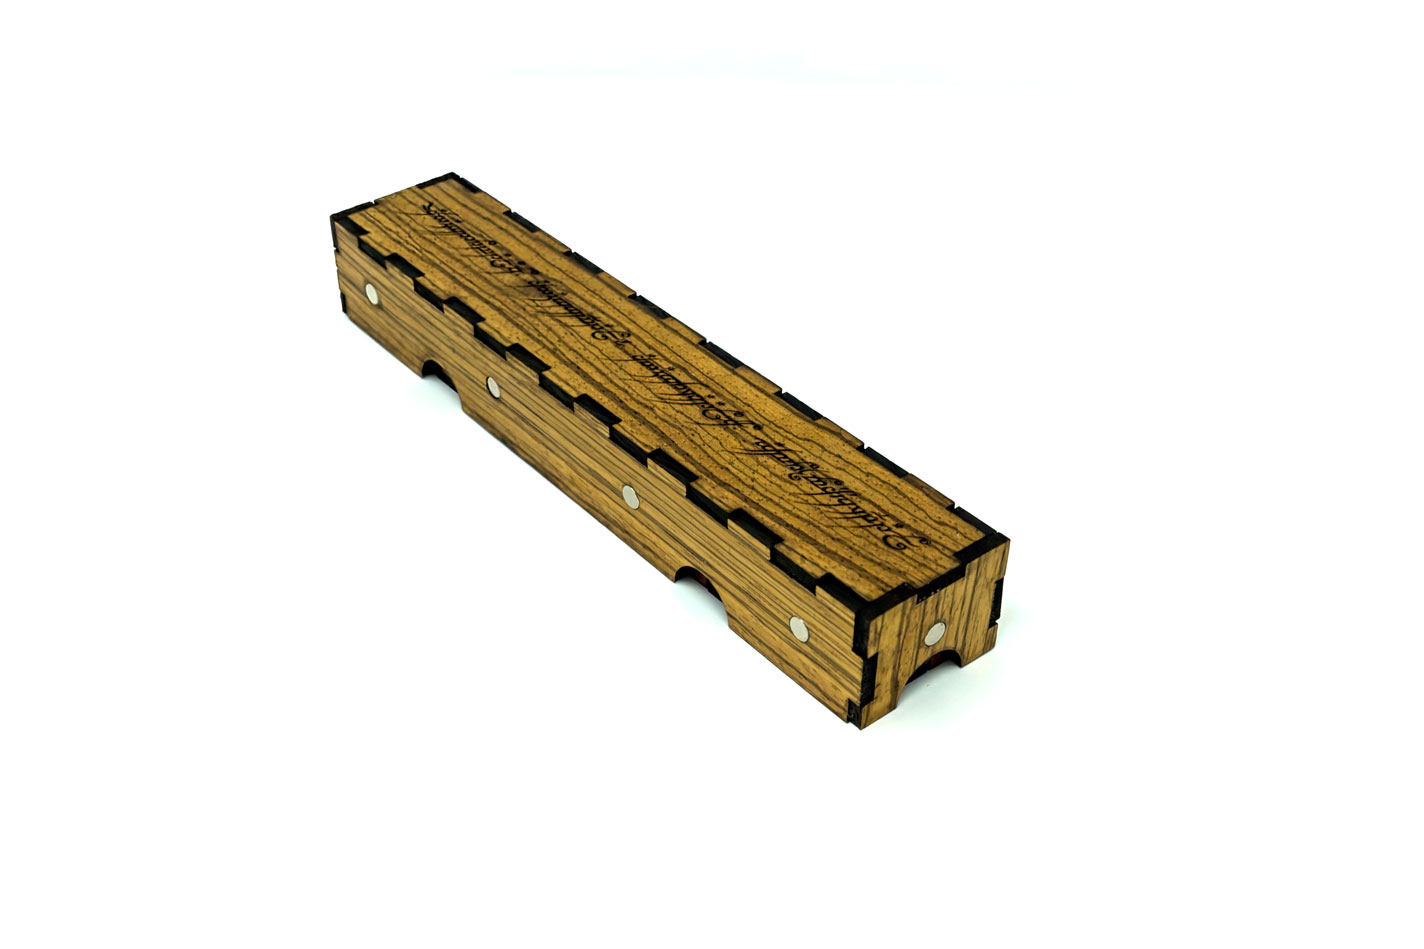
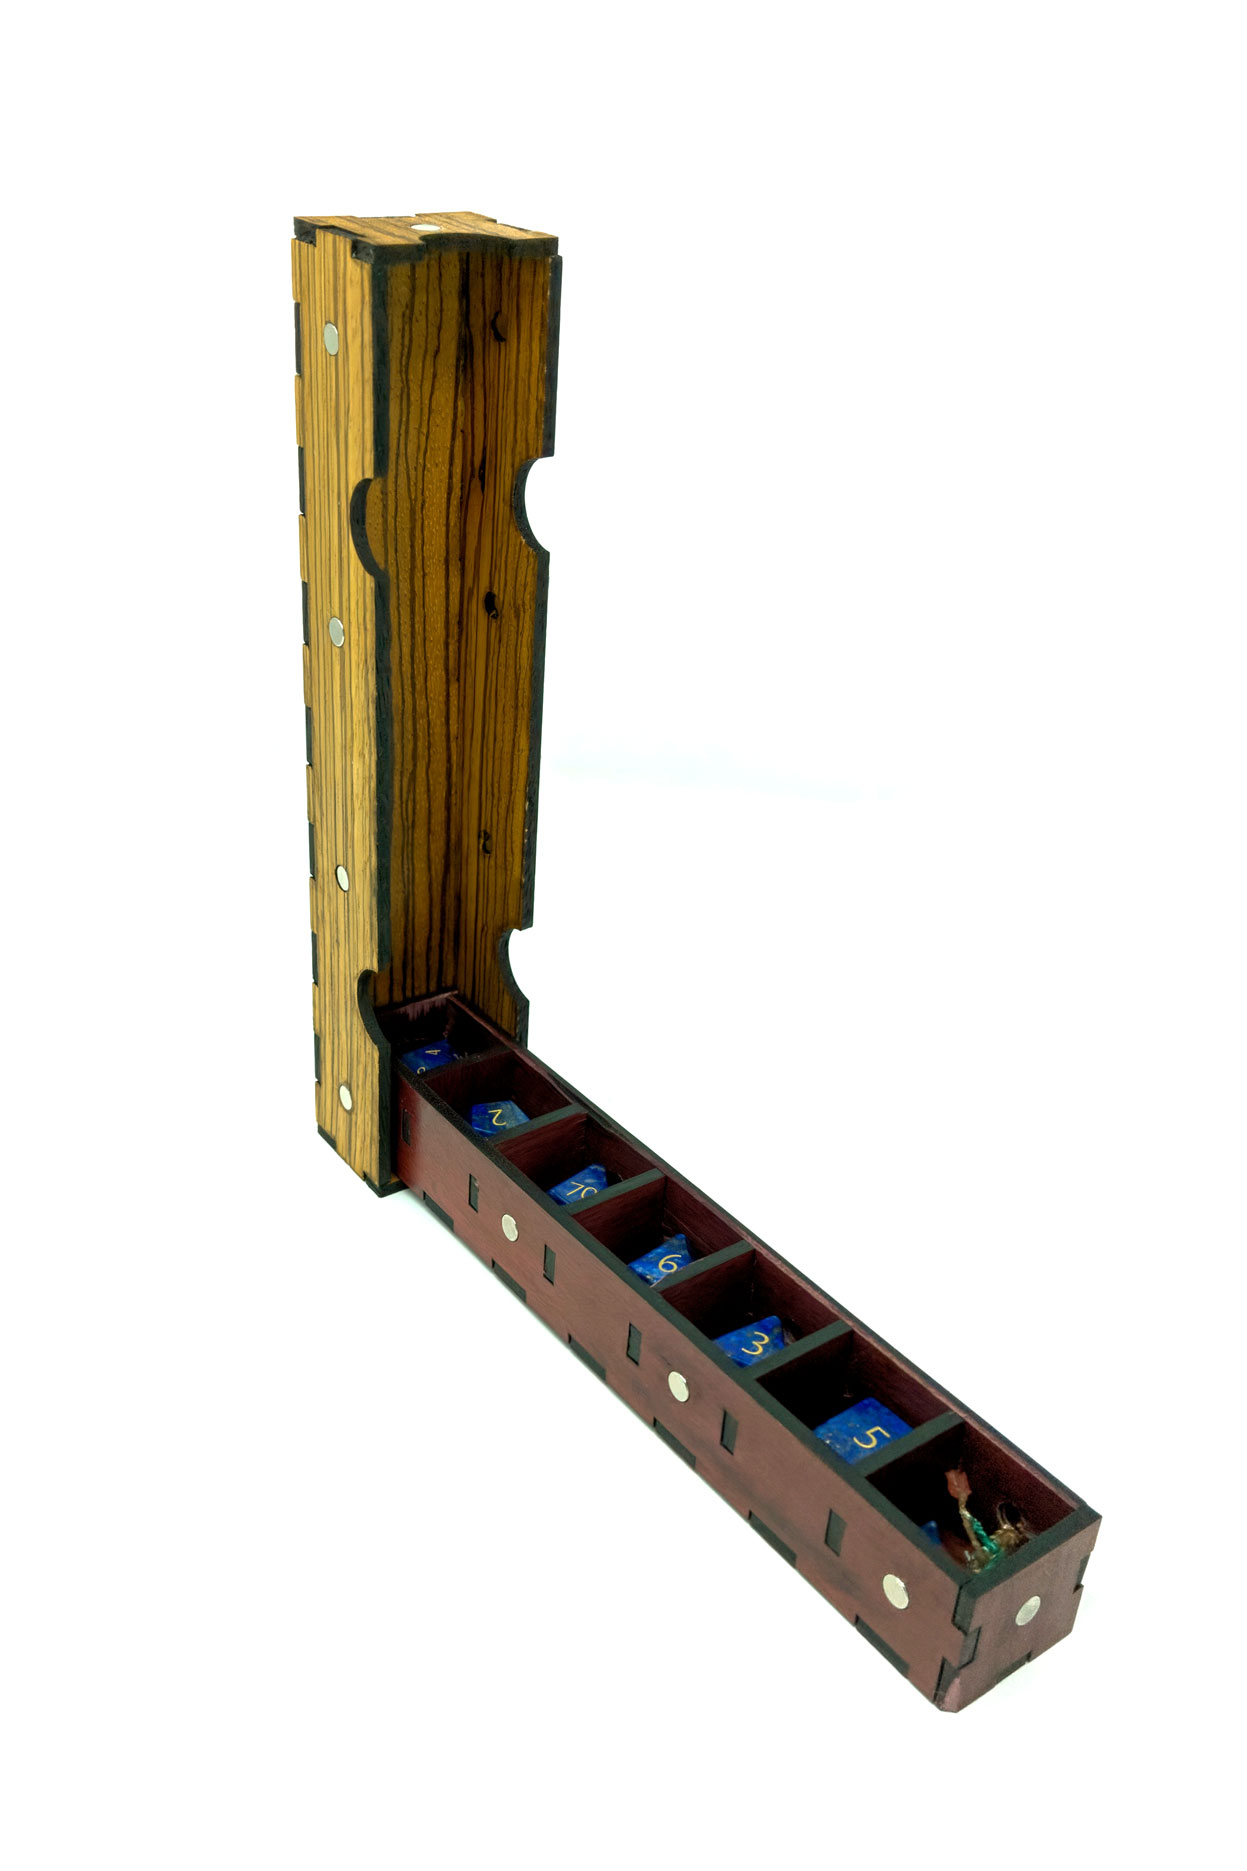
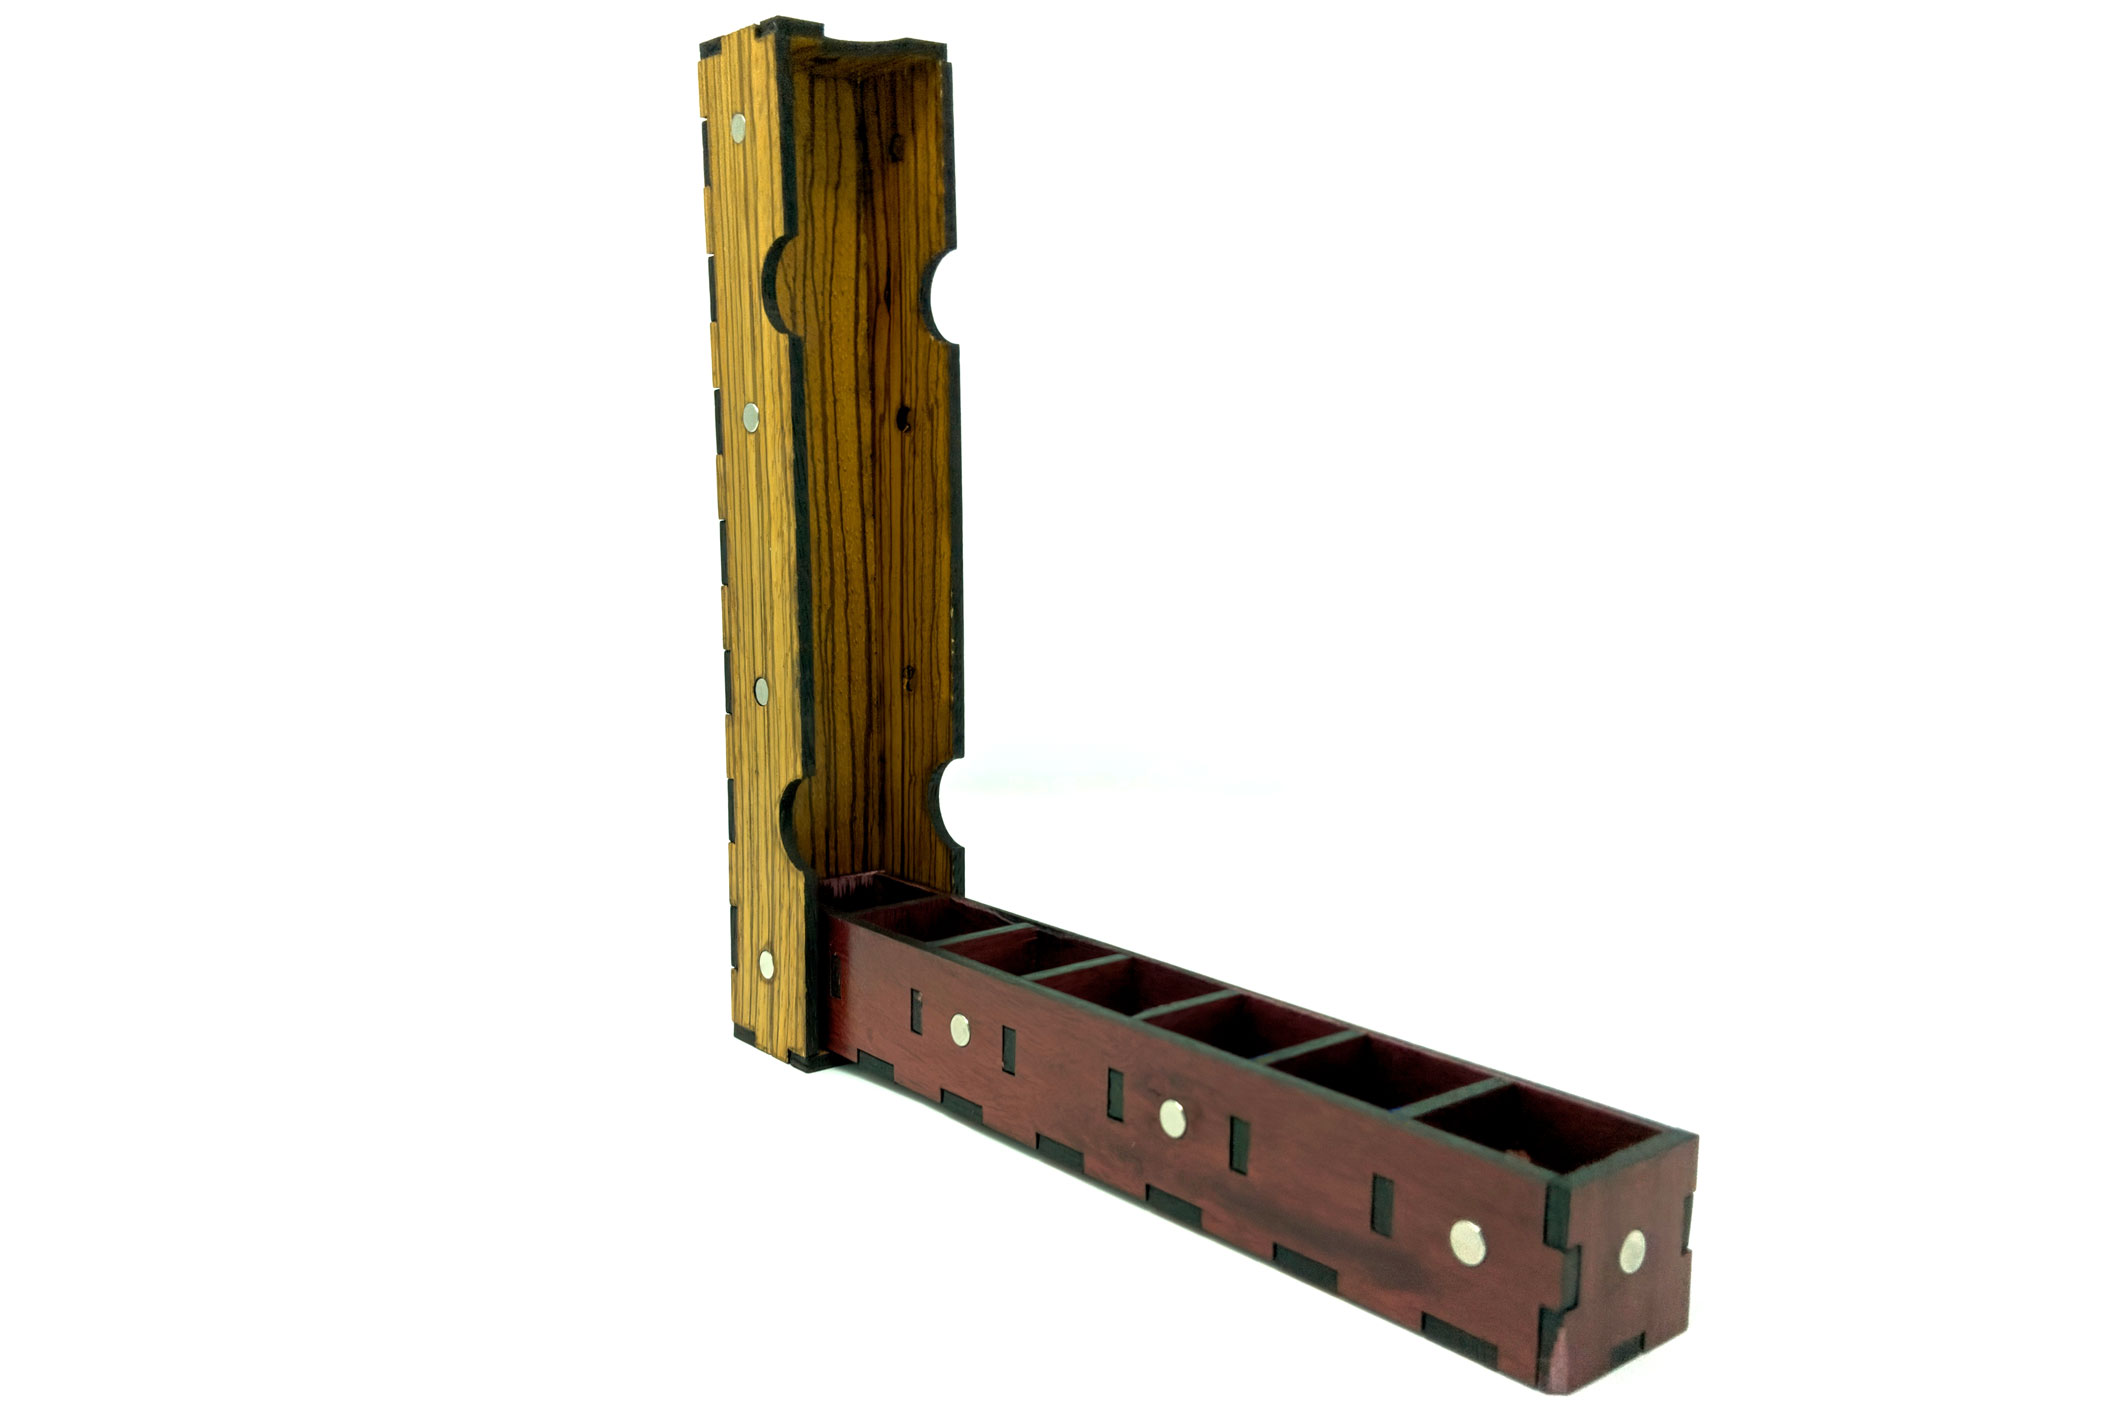
For materials, the vines and cats boxes are done in proofgrade Maple Plywood. The One Ring vault is Zebra wood for the exterior and Purple Heart for the inner piece. I plan on making another couple using Walnut and may swap out the inner boxes on the Maples to have more two tone boxes. I finished the non proofgrade hardwoods with Watco Danish Oil Finish and a spray on clear coat.
The final versions aren’t without their mistakes as the pictures above show. I only had 1 piece each of Zebra and Purple Heart and foolishly decided to guess at the settings. I cut the Zebra first. The cuts didn’t go all the way through, but I planned on this and ran the cut a second time. Unfortunately, this messed up my glue free joints so it didn’t go together tightly enough (and the magnets fell out). So I ended up having to put it together with glue. Eager to not do the same thing twice I slowed the cut down for the Purple Heart so it would go through on the first try. It still didn’t and I ended up having to punch out some of the pieces, damaging the finish and wood on some pieces. For the vines vault, there were two places where the engrave SVG overlapped and this apparently results in negating the operation in the glowforge UI? So it didnt engrave twice as I would expect, instead it engraved those sections zero times. The result was that in 2 places on the top of the piece a circle overlaps a line and causes the line to not be engraved in that overlapped section. Very minor issue and so I’m not sweating it.
Overall I’m happy with the project. There are still some improvements that could be made. The magnet and tab slots could probably be honed in just a little more. And there is tons more that could be done from the engraving side. I could do some trig to figure out how much space should be given between the inner and outer pieces to make sure they can slide off easily. But as they say, the perfect is the enemy of the good. So I’ll stop here and leave any future improvements to you. You can download the pattern in my shop. Enjoy!